All supplier fields that are visible under the Suppliers > Details tab are editable.
Notes on editing supplier details
Updating the supplier information may affect the overall expense management experience.
Once you provide the General supplier details, they will be reused on every expense associated with the specific supplier.
While the Note field is optional, its information is displayed in the audit log when viewing the history of supplier edits.
For EUR payments inside Europe (SEPA and SEPA Instant, including UK IBANs), the supplier's street, postal code, and city are optional. Only the account holder, IBAN, BIC or SWIFT code, and country are required. Payhawk fills in the country from the IBAN.
For payments through SWIFT, the recipient address is still required. When you enter an address, use the supplier's own address, not the bank's address or random characters. Incorrect or mismatched details can result in failed transfers.
The data for a supplier is subject to change over time. To preserve accounting accuracy for periods in the past, the supplier name and tax number will be saved on each expense. This data will not be updated for an already reviewed expense even though the supplier data may have been updated subsequently.
Editing the general supplier details
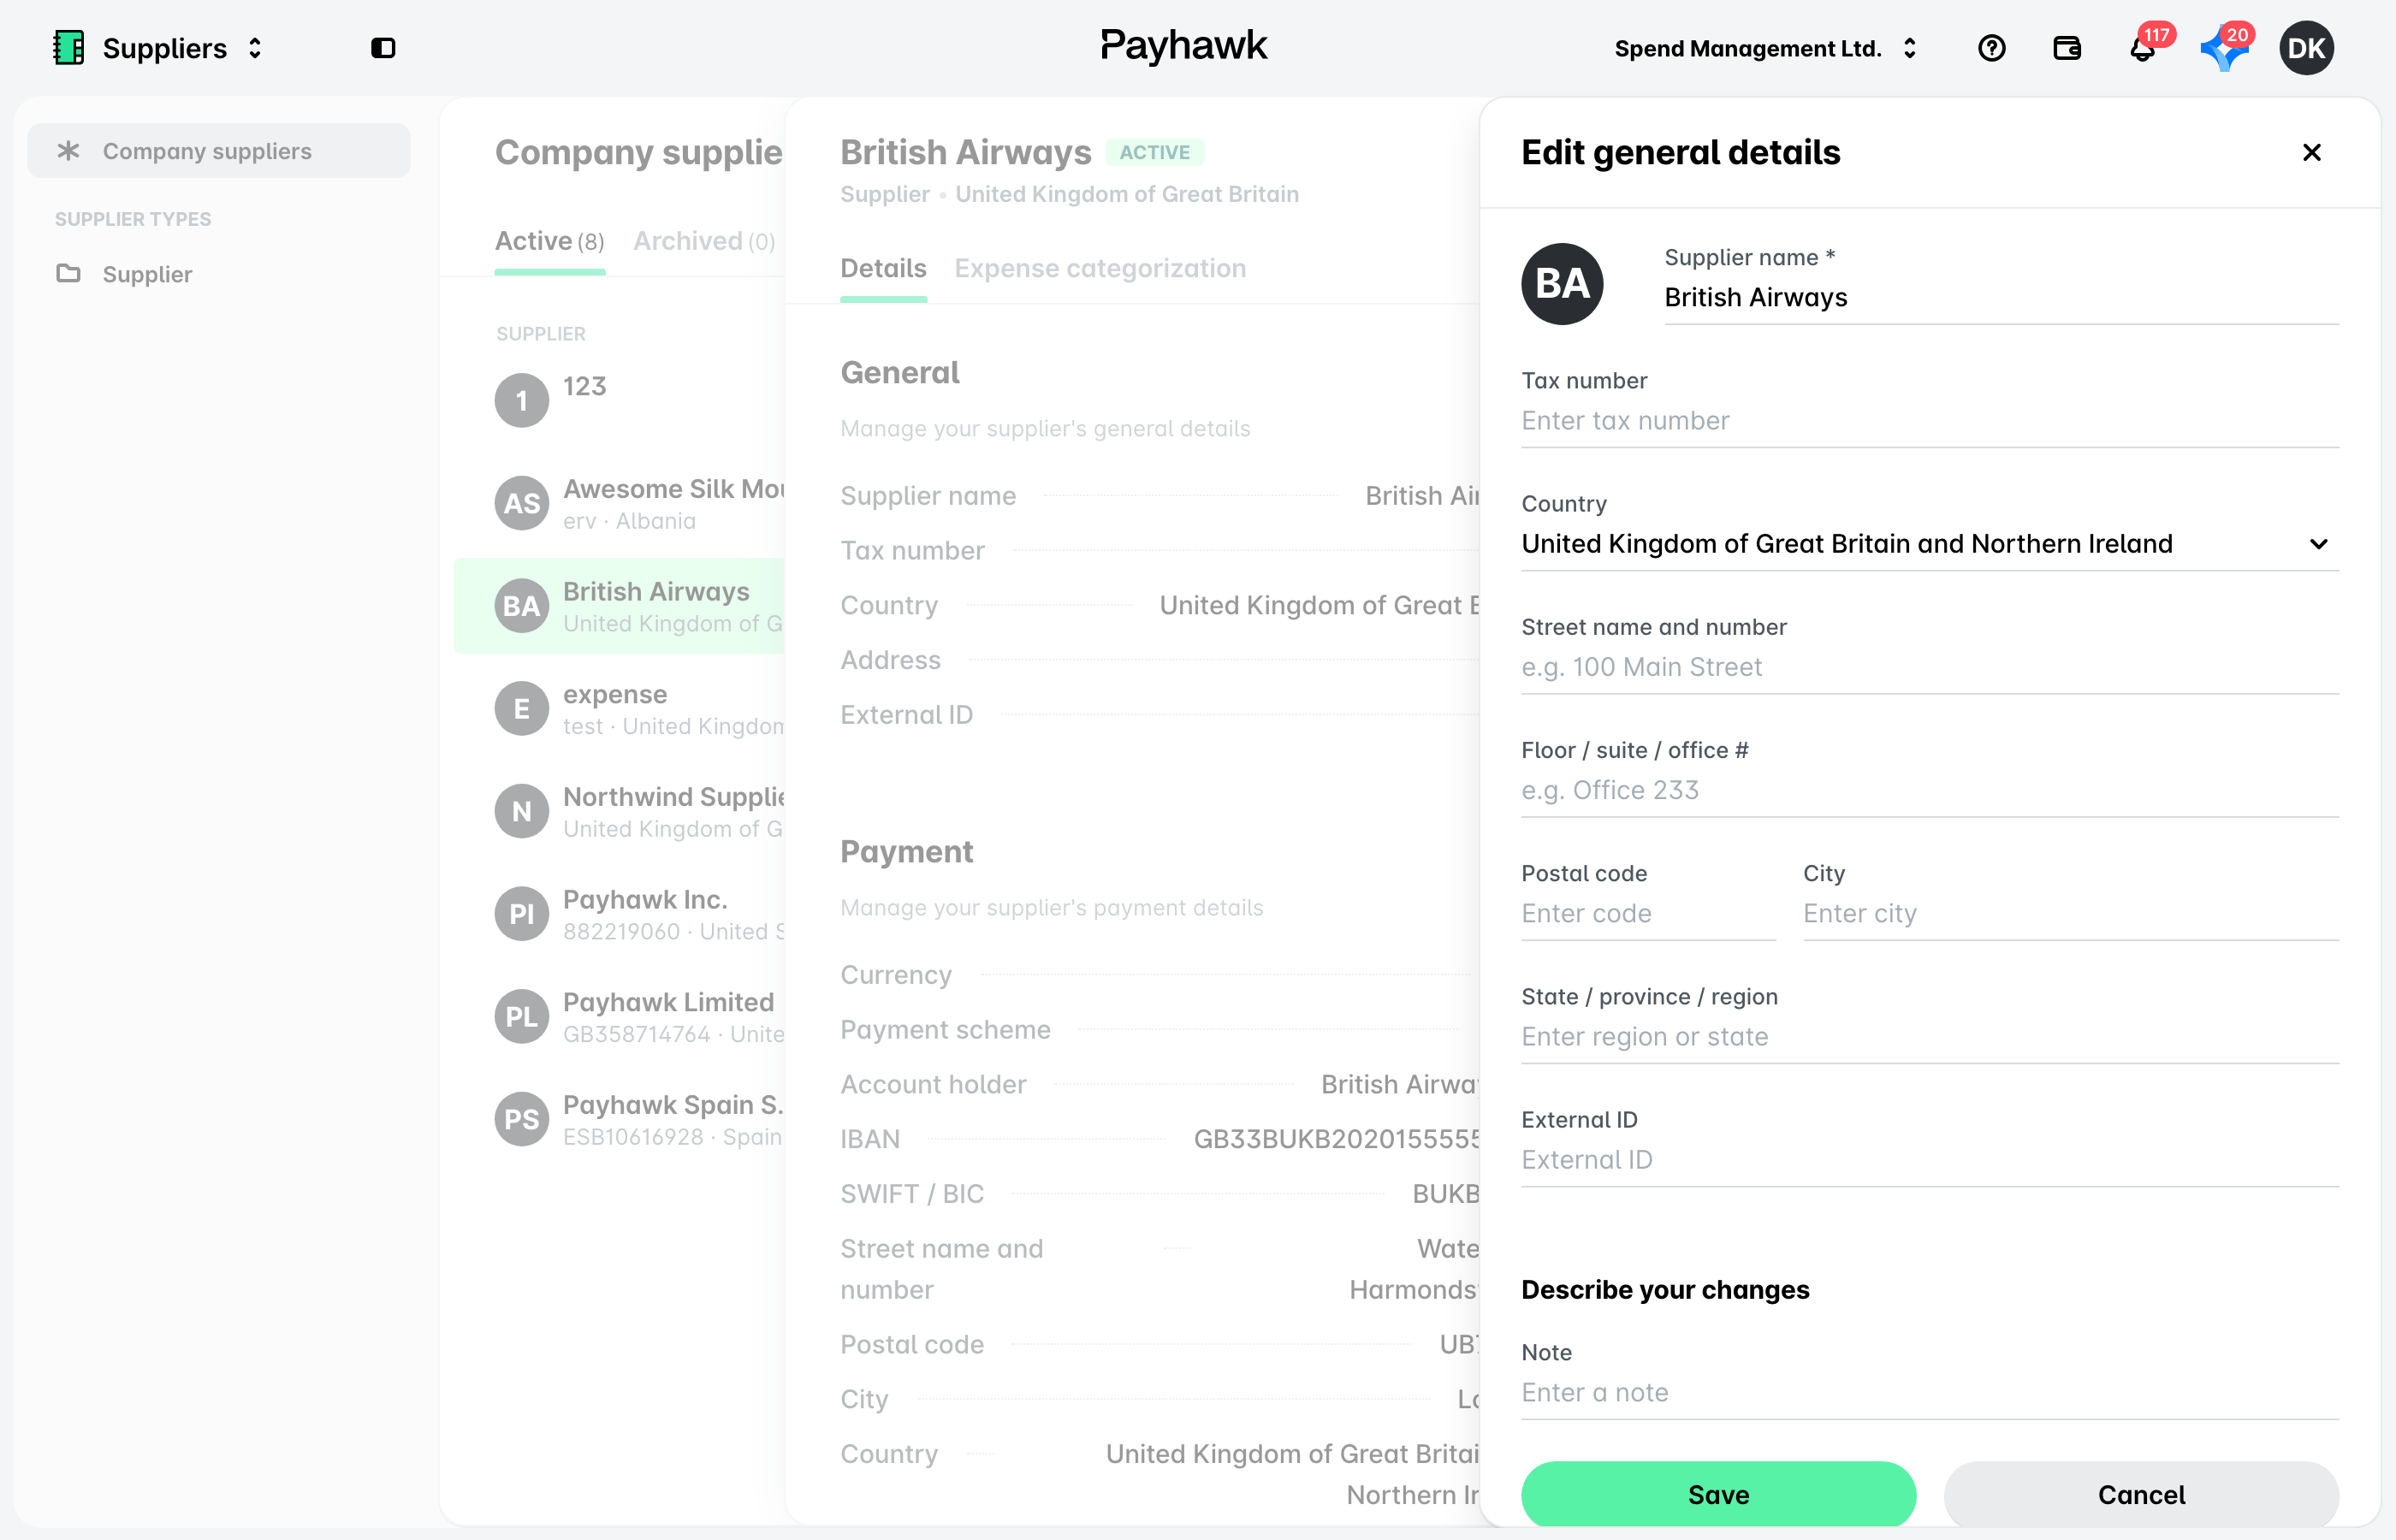
To edit the name, tax number, country, address, and external ID for a supplier:
Log in to the Payhawk Web Portal.
Open the app switcher in the top-left corner and go to Suppliers > Company suppliers.
Select the desired supplier by clicking on it.
Under the Details tab, click on the Edit button against the General field.
Update the desired information. Optionally, add a note regarding the changes you've made. Note the following:
The address fields follow the country you select. For a supplier in the US, fill in Street address, Floor / suite / office #, City, State, and ZIP code. For a supplier in any other country, fill in Street name and number, Floor / suite / office #, Postal code, City, and State / province / region.
Outside the US, when you enter a postal code, Payhawk suggests the matching city. Select the suggestion or type the city yourself.
All address fields are optional, and the saved address shows on one line under Address in the General section.
Click on Save to confirm your changes.
Editing the supplier payment details
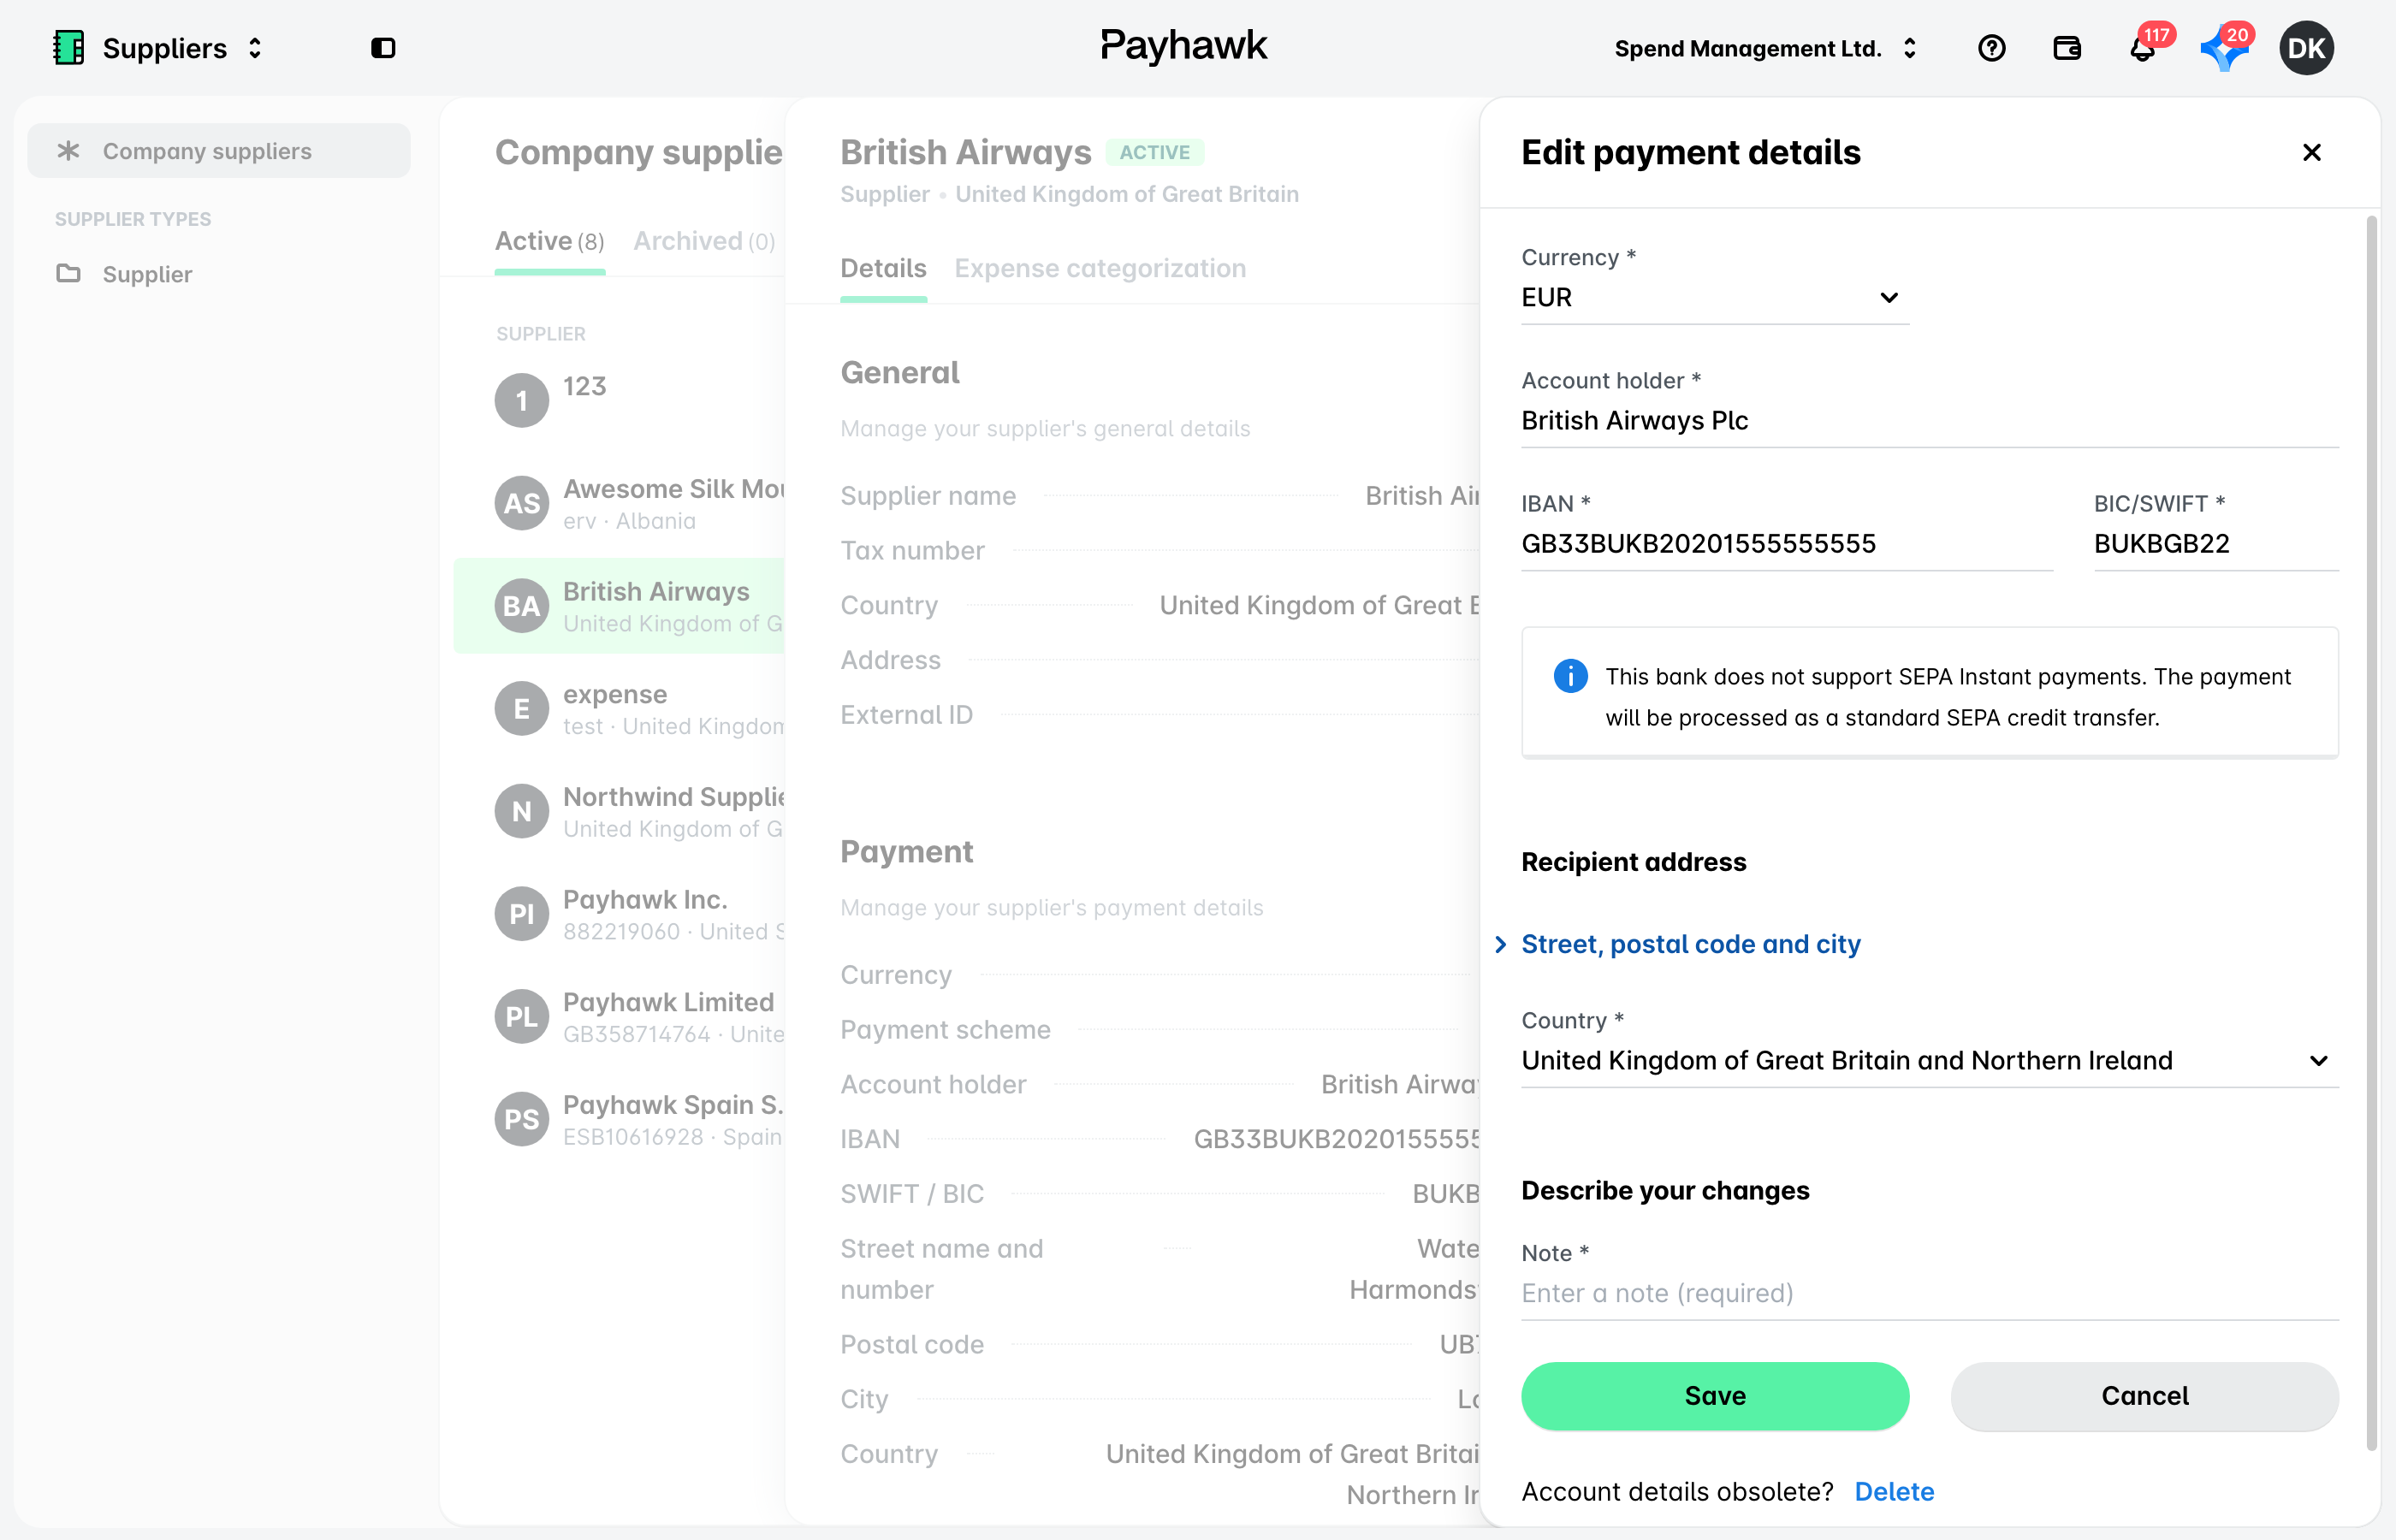
To edit the currency, account holder, IBAN, BIC or SWIFT code, and other payment details of a supplier:
Open the app switcher in the top-left corner and go to Suppliers > Company suppliers.
Select the desired supplier by clicking on it.
Under the Details tab, click on the Edit button against the Payment field.
Update the desired information. Optionally, add a note regarding the changes you've made.
Note that an update in the currency will load different corresponding payment fields that will be required for that currency:
For GBP, you'll need to provide an Account number and a Sort code.
For EUR, you'll need to provide an IBAN and a BIC or SWIFT code. For payments inside Europe (SEPA), the street, postal code, and city under Recipient address are optional. To add them, expand Street, postal code and city.
For USD, you'll need to provide an Account number, Routing number, and Account type (Checking, General ledger, and so on).
For DKK payments, you'll need to provide the supplier's account number if you previously selected Inside Denmark (Account Number), or an IBAN if you selected Inside Denmark (IBAN).
When ready, click on Save to confirm your changes.
Editing the supplier contact information
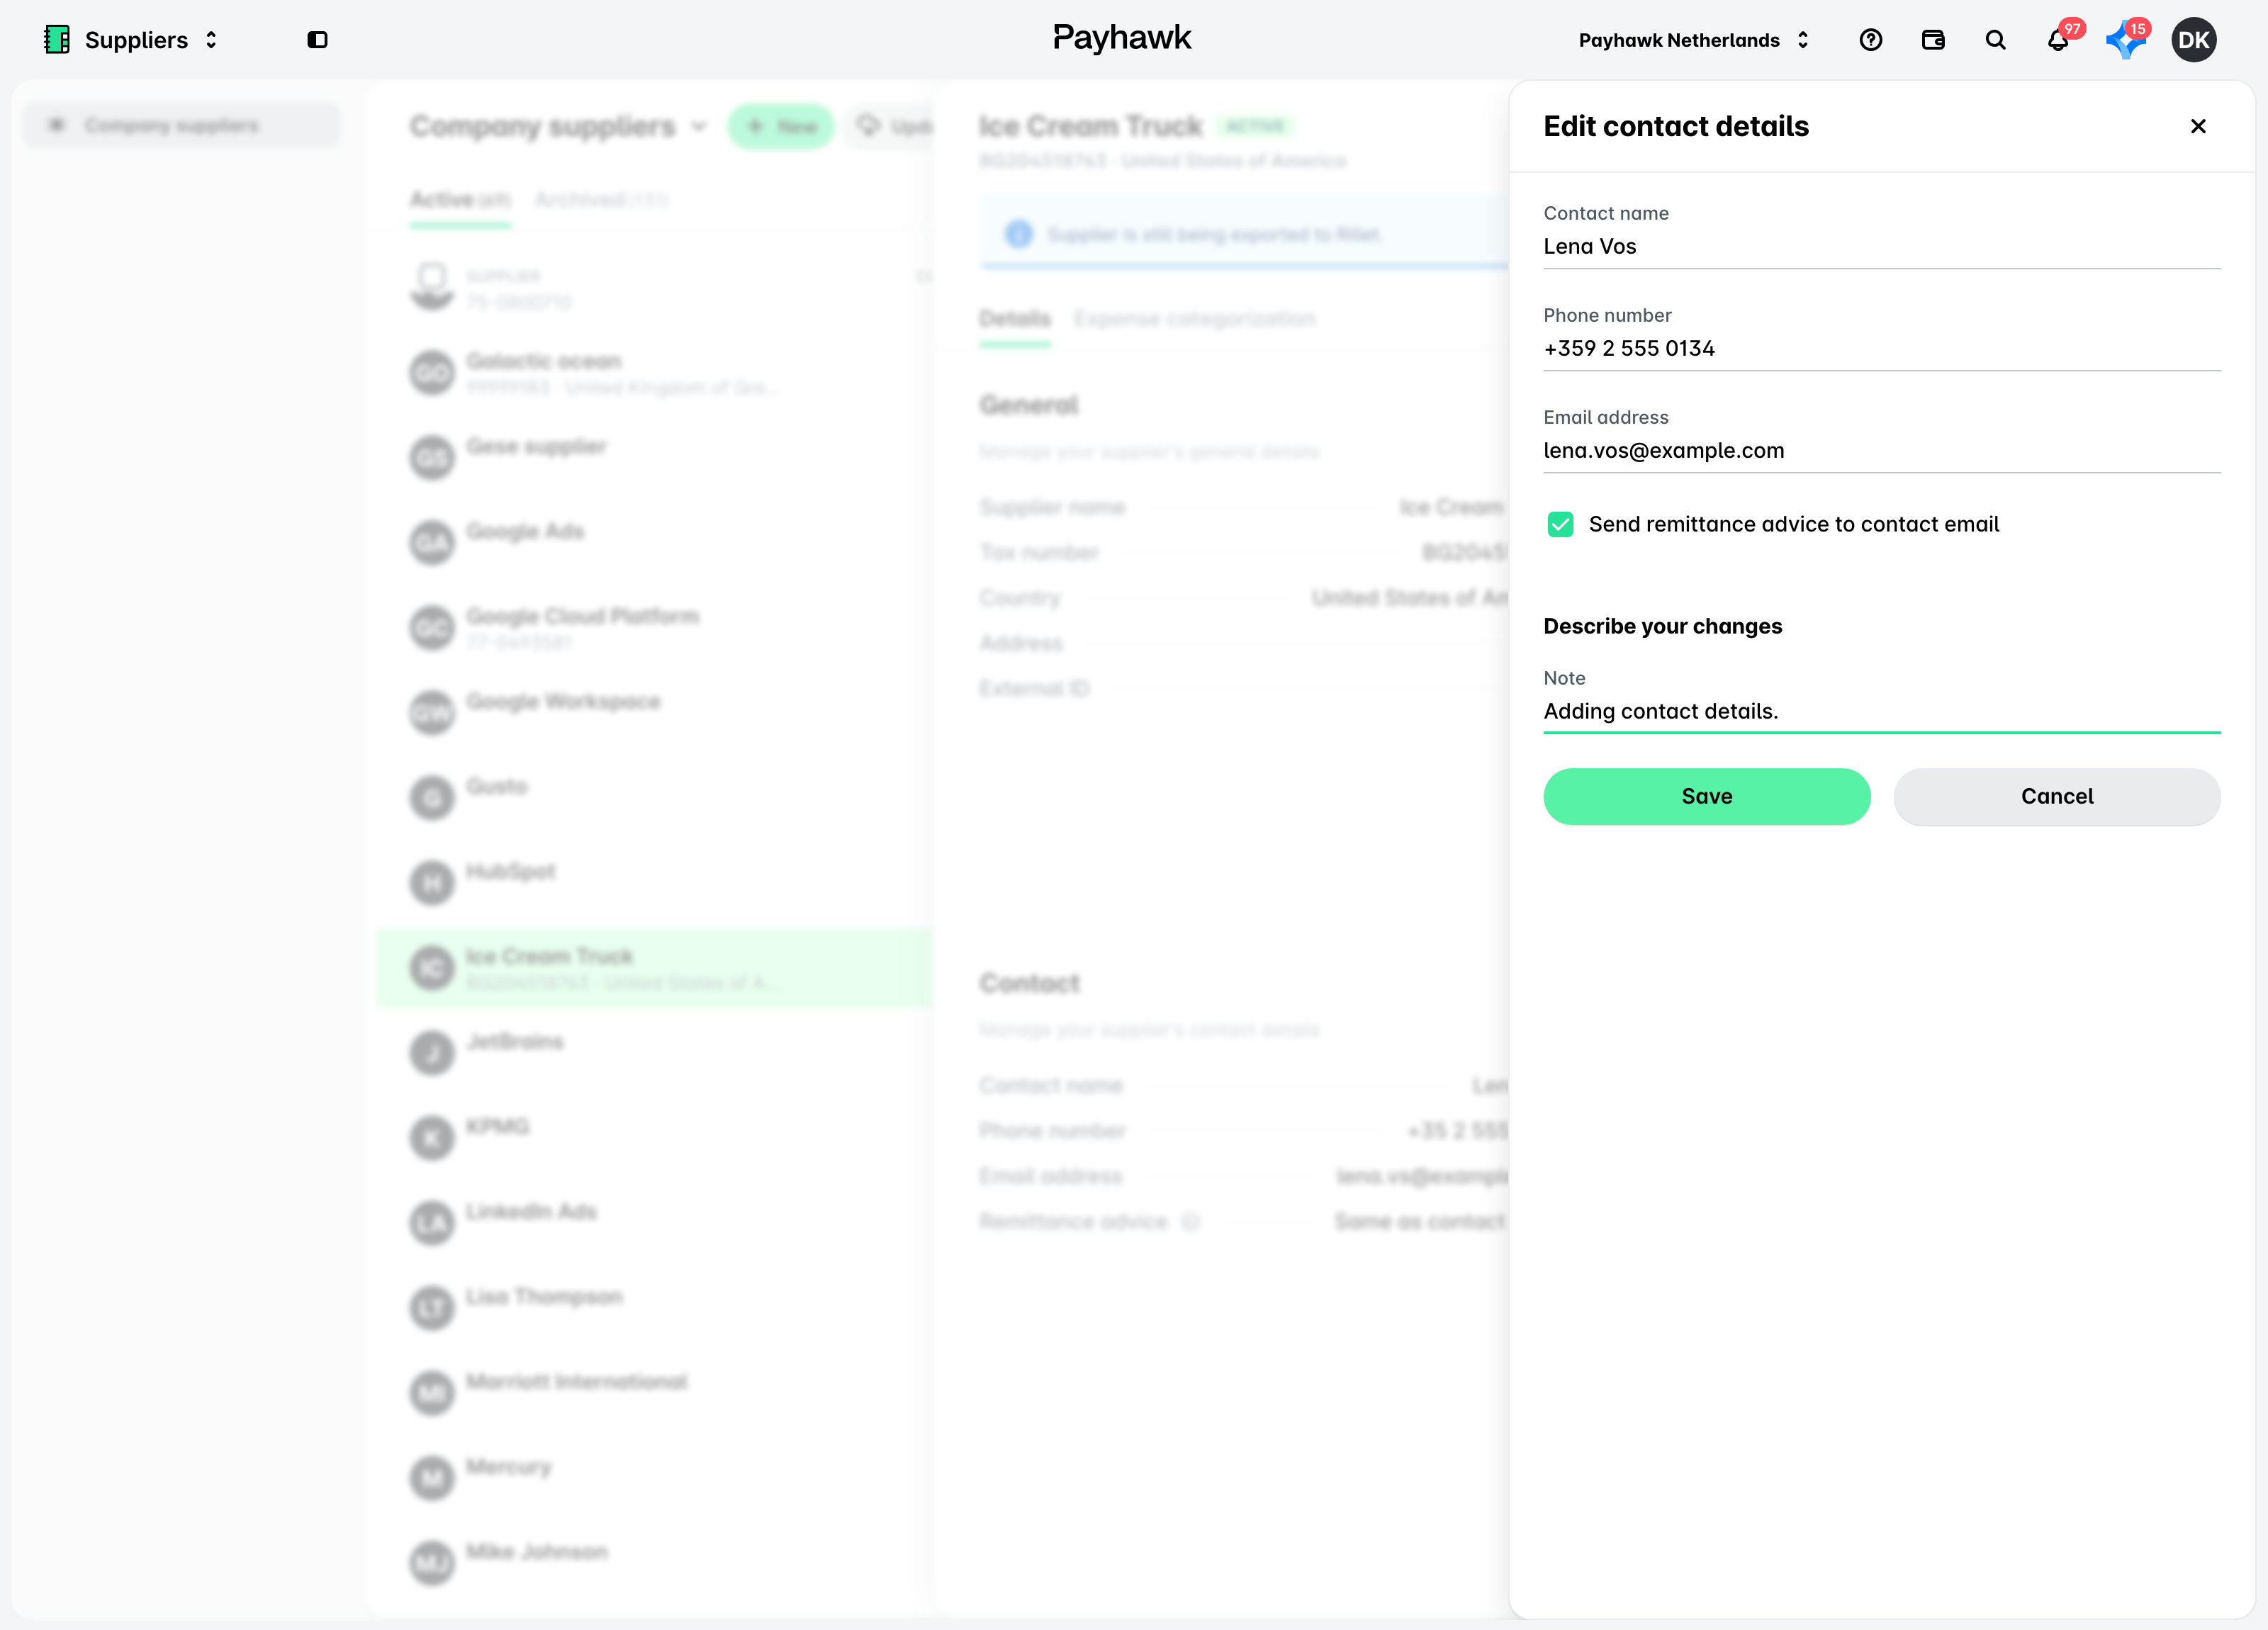
To edit the contact person, email, and phone number for a supplier:
Open the app switcher in the top-left corner and go to Suppliers > Company suppliers.
Select the desired supplier by clicking on it.
Under the Details tab, click on the Edit button against the Contact field.
Update the desired information. Optionally, add a note regarding the changes you've made.
Click on Save to confirm your changes.
Editing the supplier additional fields
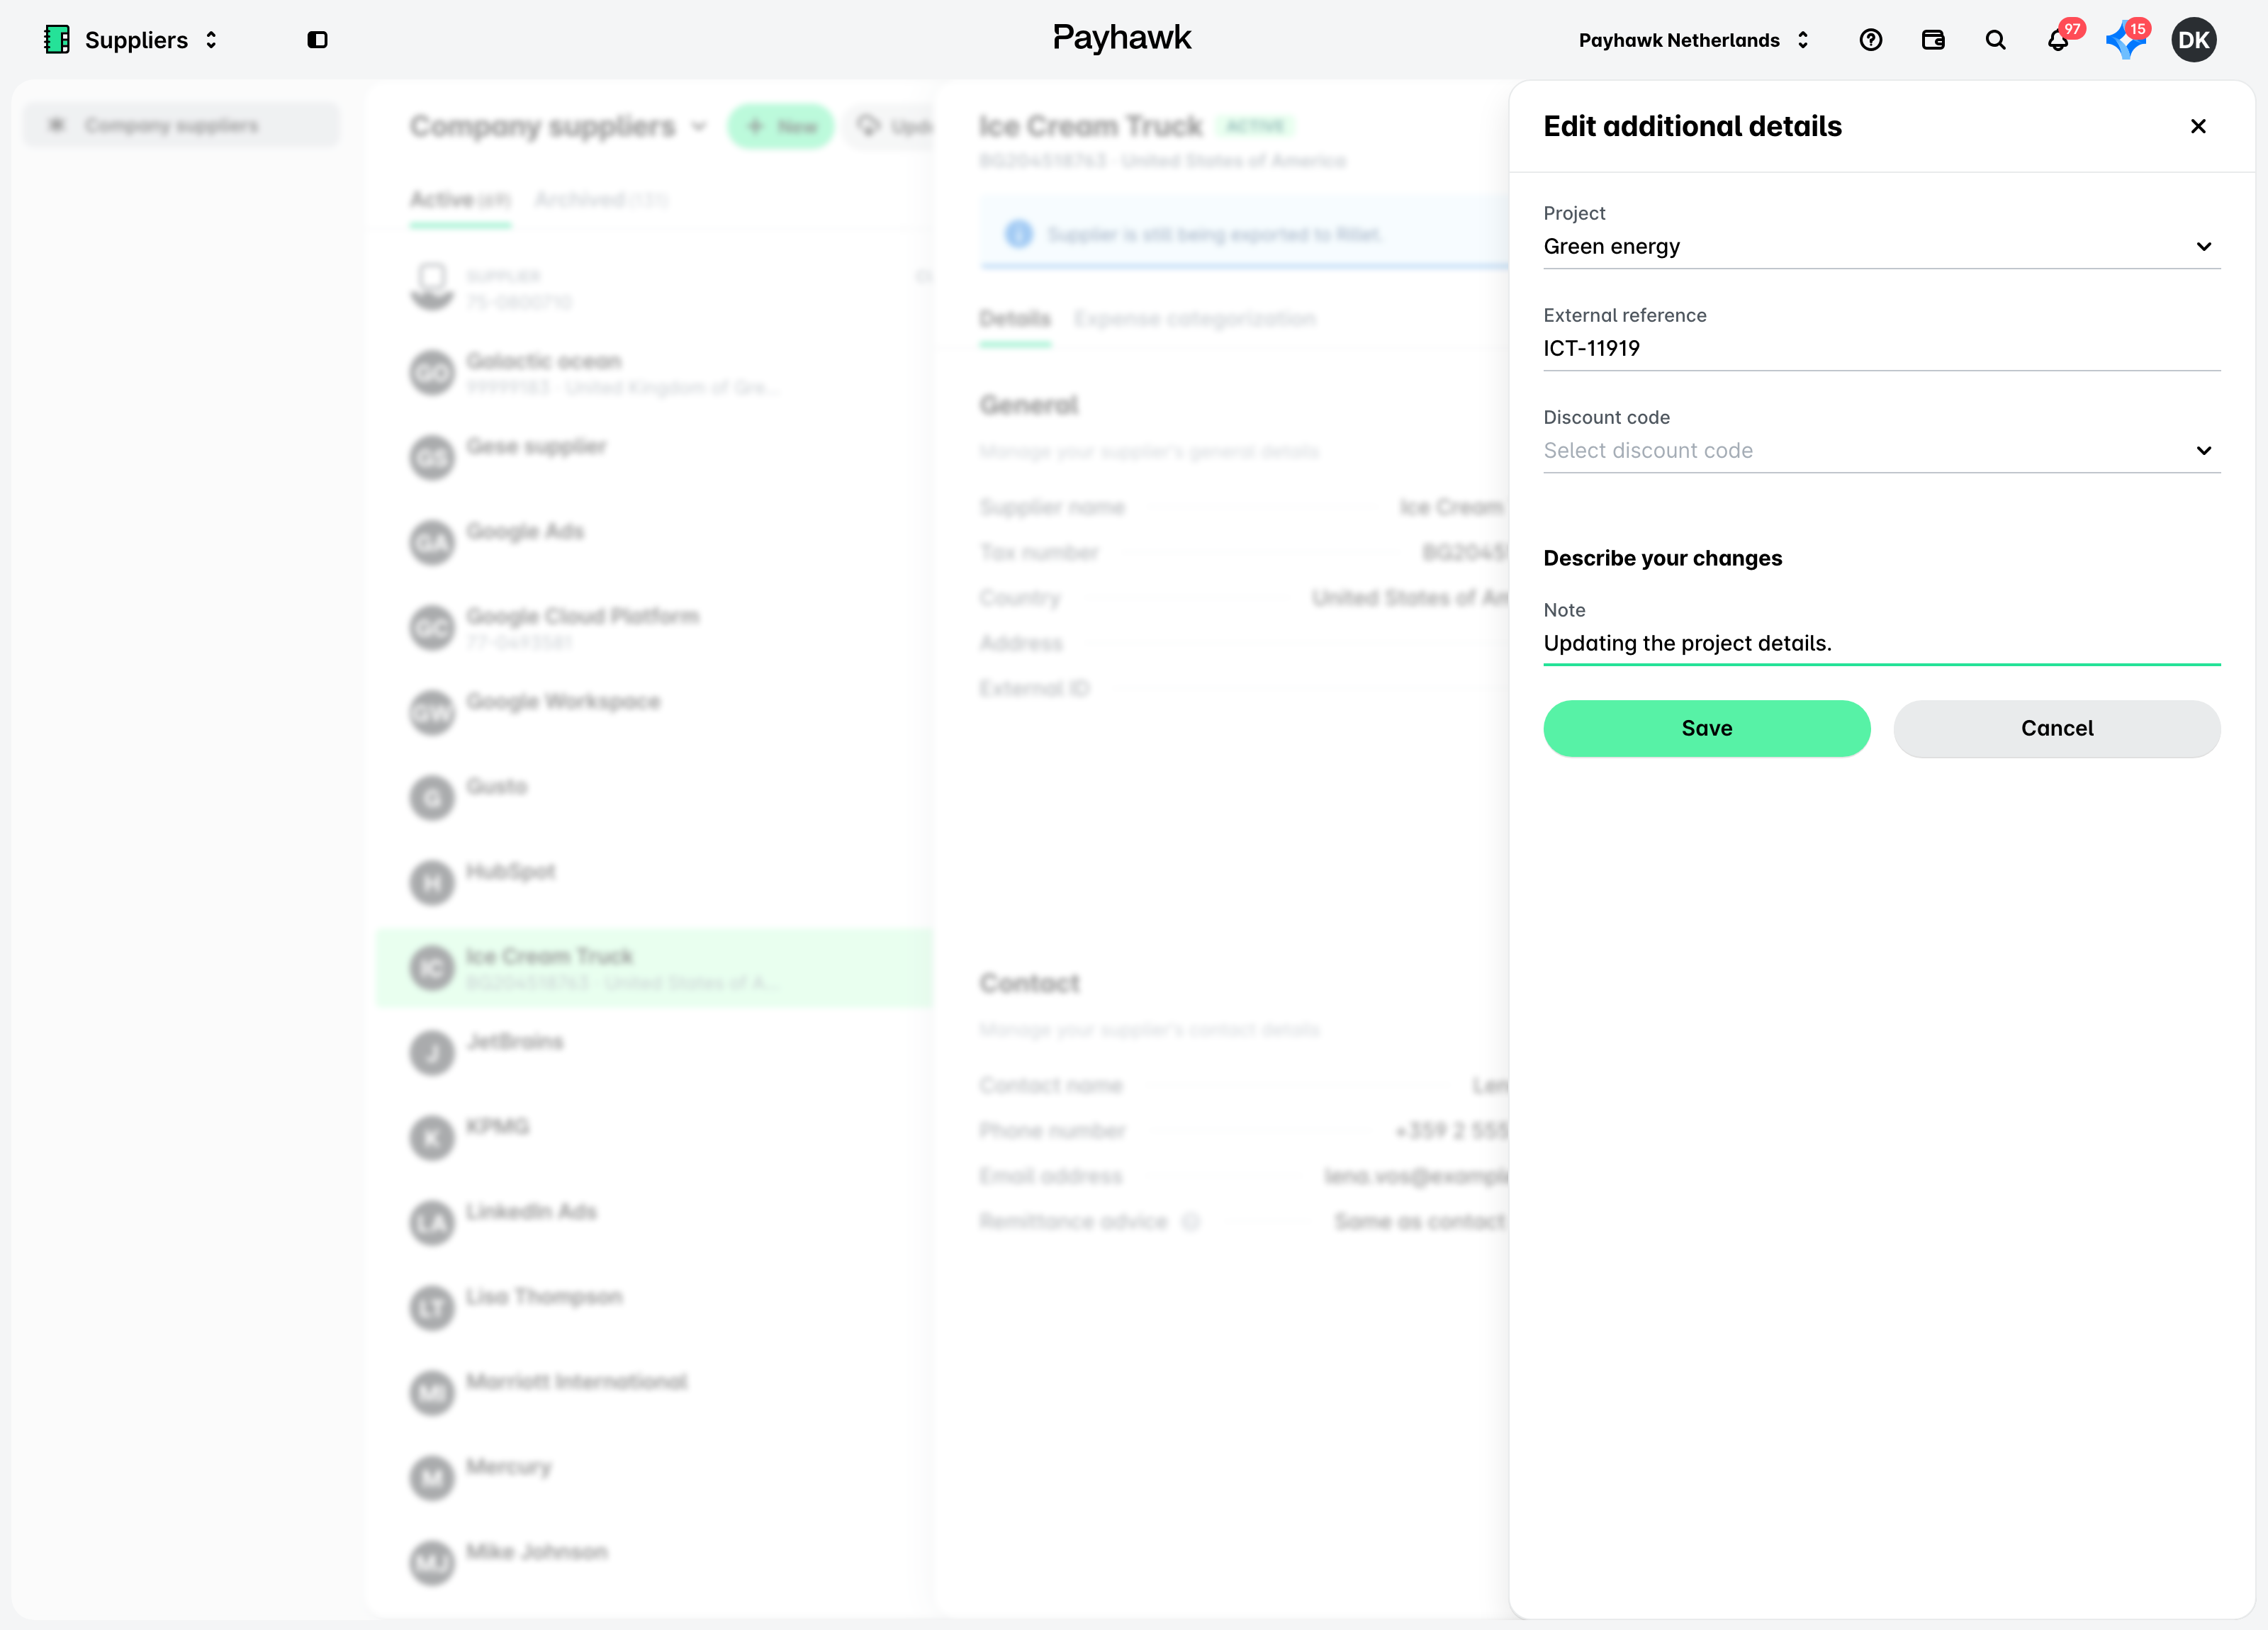
The supplier fields under Additional are customizable. They depend on the additional supplier fields defined for your company from the Settings > Supplier fields menu.
To edit the pre-defined additional supplier fields:
Open the app switcher in the top-left corner and go to Suppliers > Company suppliers.
Select the desired supplier by clicking on it.
Under the Details tab, click on the Edit button against the Additional field.
Update the desired information. Optionally, add a note regarding the changes you've made.
Click on Save to confirm your changes.
Viewing the history of supplier details edits
All changes made to the General, Contact, Payment, and Additional fields are stored and can be viewed. Additionally, the log contains the person who has done the edits, the timestamp, and also the reason for the change if the editor has left a note.
To view the history audit log for the supplier details:
Open the app switcher in the top-left corner and go to Suppliers > Company suppliers.
Select the desired supplier by clicking on it.
Click on the three dots menu and select the View history option to view the audit log.
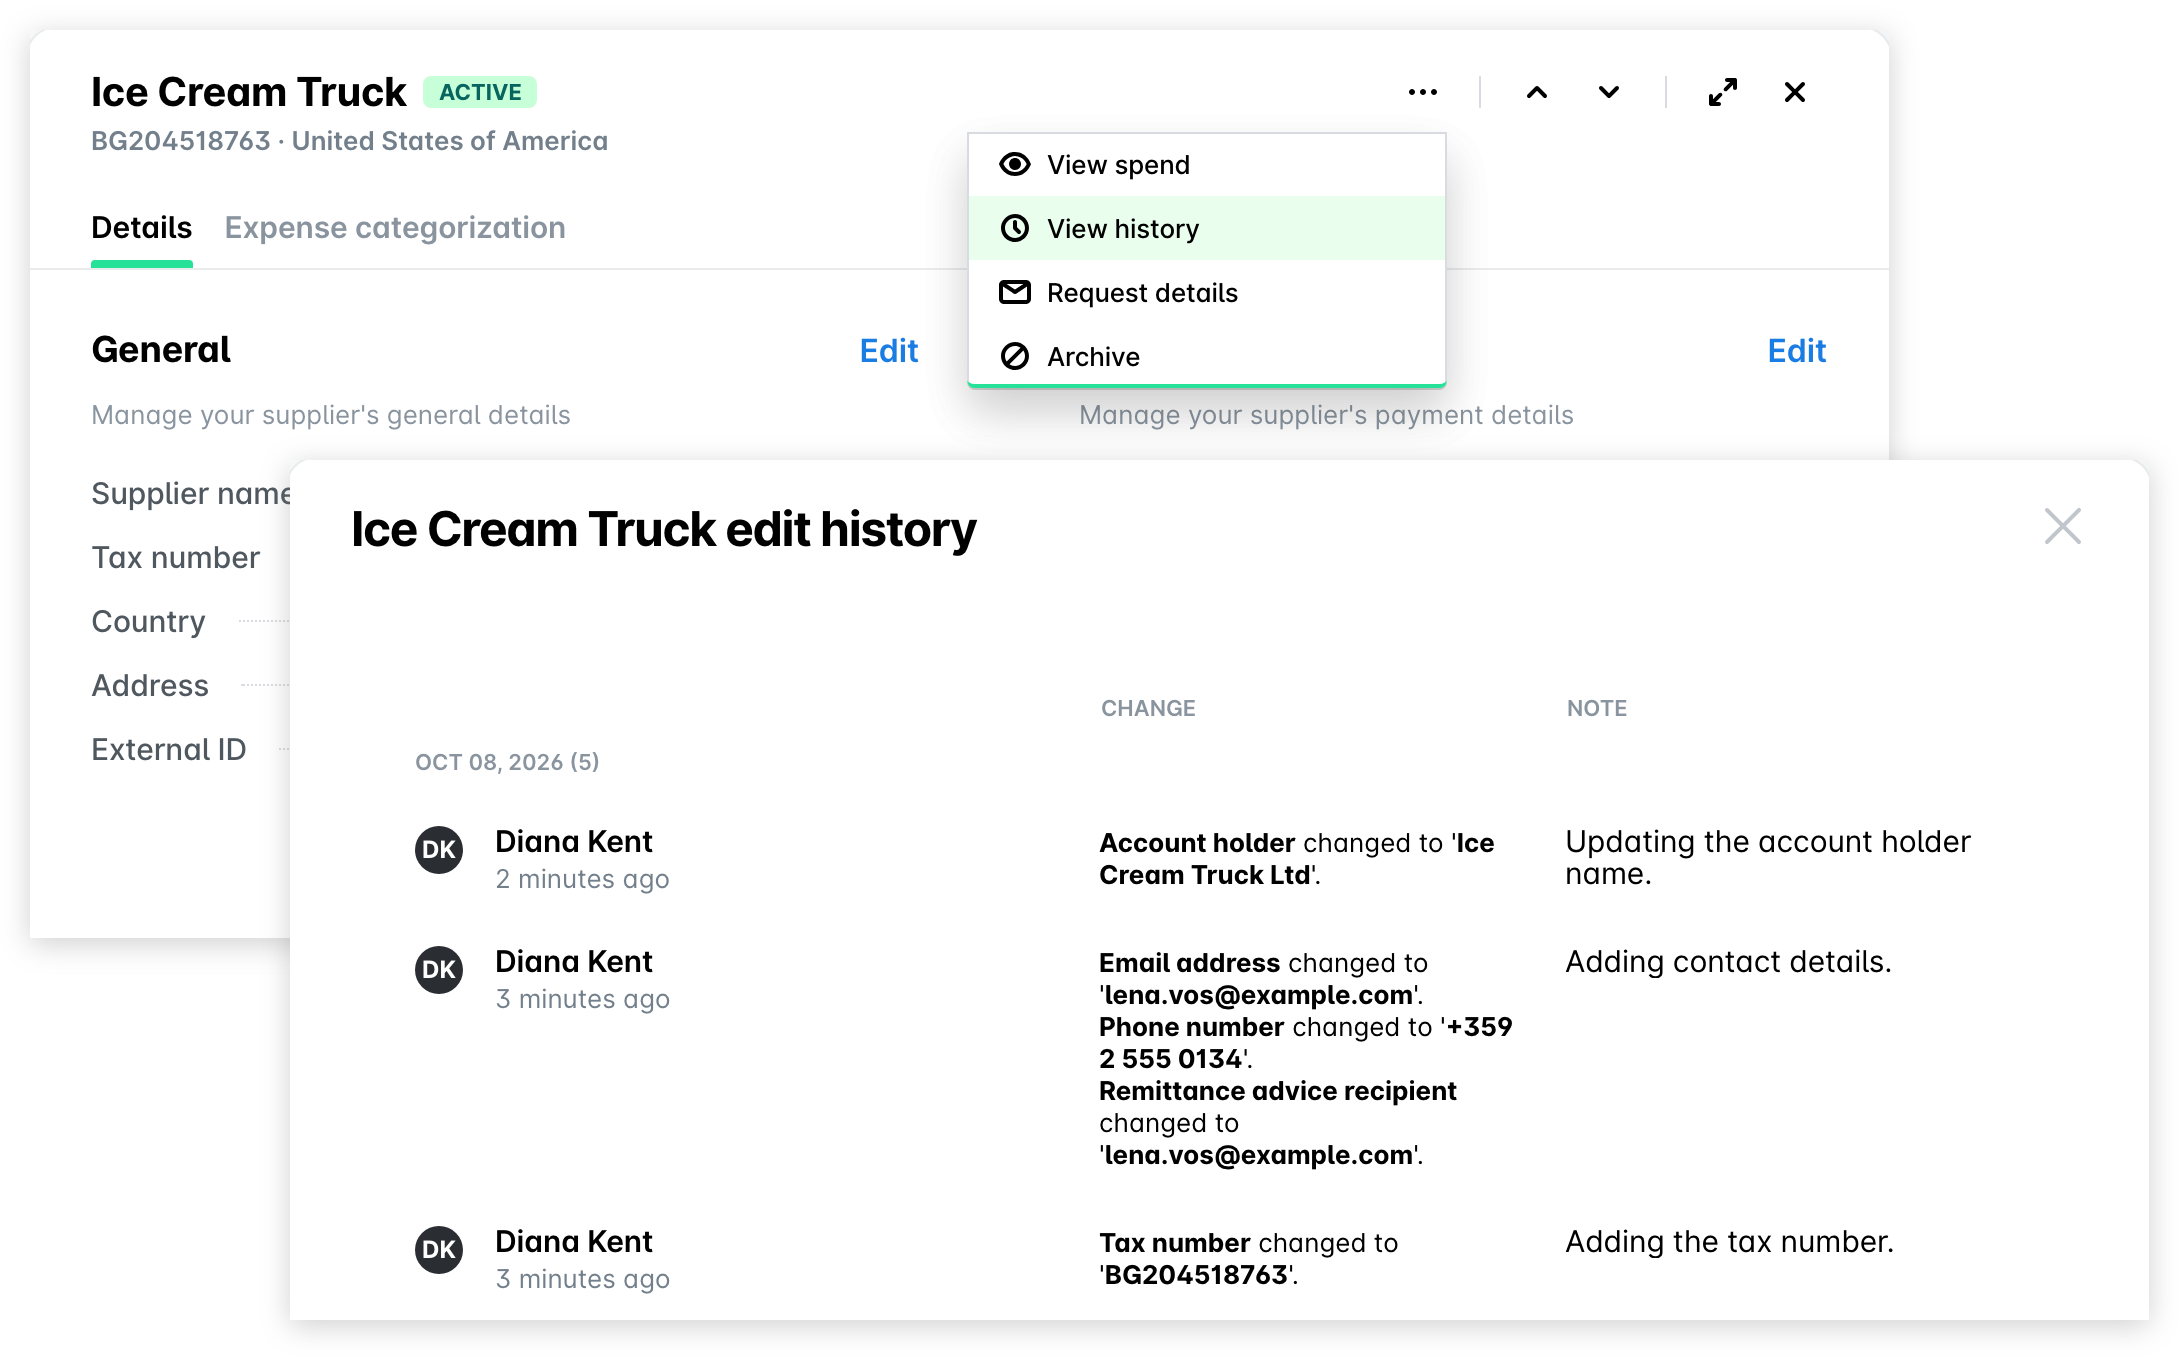
Applying updated supplier payment details to associated expenses
You can view all expenses associated with a supplier and choose whether to apply the updated payment details to the unpaid expenses associated with that supplier:
Open the app switcher in the top-left corner and go to Suppliers > Company suppliers.
Select the desired supplier by clicking on it.
Click on the three dots menu and select the View spend option. As a result, you'll be redirected to Spend.
If the bank details for a supplier have been updated, when viewing a bill that has not been paid yet, a message will inform you that the supplier payment details have been updated. Click on the Review changes.
In the dialog that opens, select the changes you want to apply to the expense by checking the option. Click on Confirm.
Useful resources