In Payhawk, you can mark expenses that have been paid outside of the system as paid, generate a payment run file with expense details, and upload it to your bank.
Expenses can be marked as paid individually or in bulk. If SEPA XML payment run files are enabled for your bank account, Payhawk will generate one for all selected expenses.
These expenses are also exported to your ERP system (for supported integrations) or included in the export file (for on-demand exports).
About payment run files in Payhawk
Payhawk currently supports the SEPA XML payment run file format, which is generated only for SEPA payments.
To generate the file, all required payment details, such as the supplier's name and bank information, must be provided.
If an external EUR bank account is configured for payment file exports, Payhawk will automatically create and download a SEPA XML file that can be uploaded directly to your online banking for processing.

After downloading, the payment run file can be accessed in the Payment section of the expense. To download the payment run file locally, click on Download.

You can filter expenses that were marked as paid by payment source.
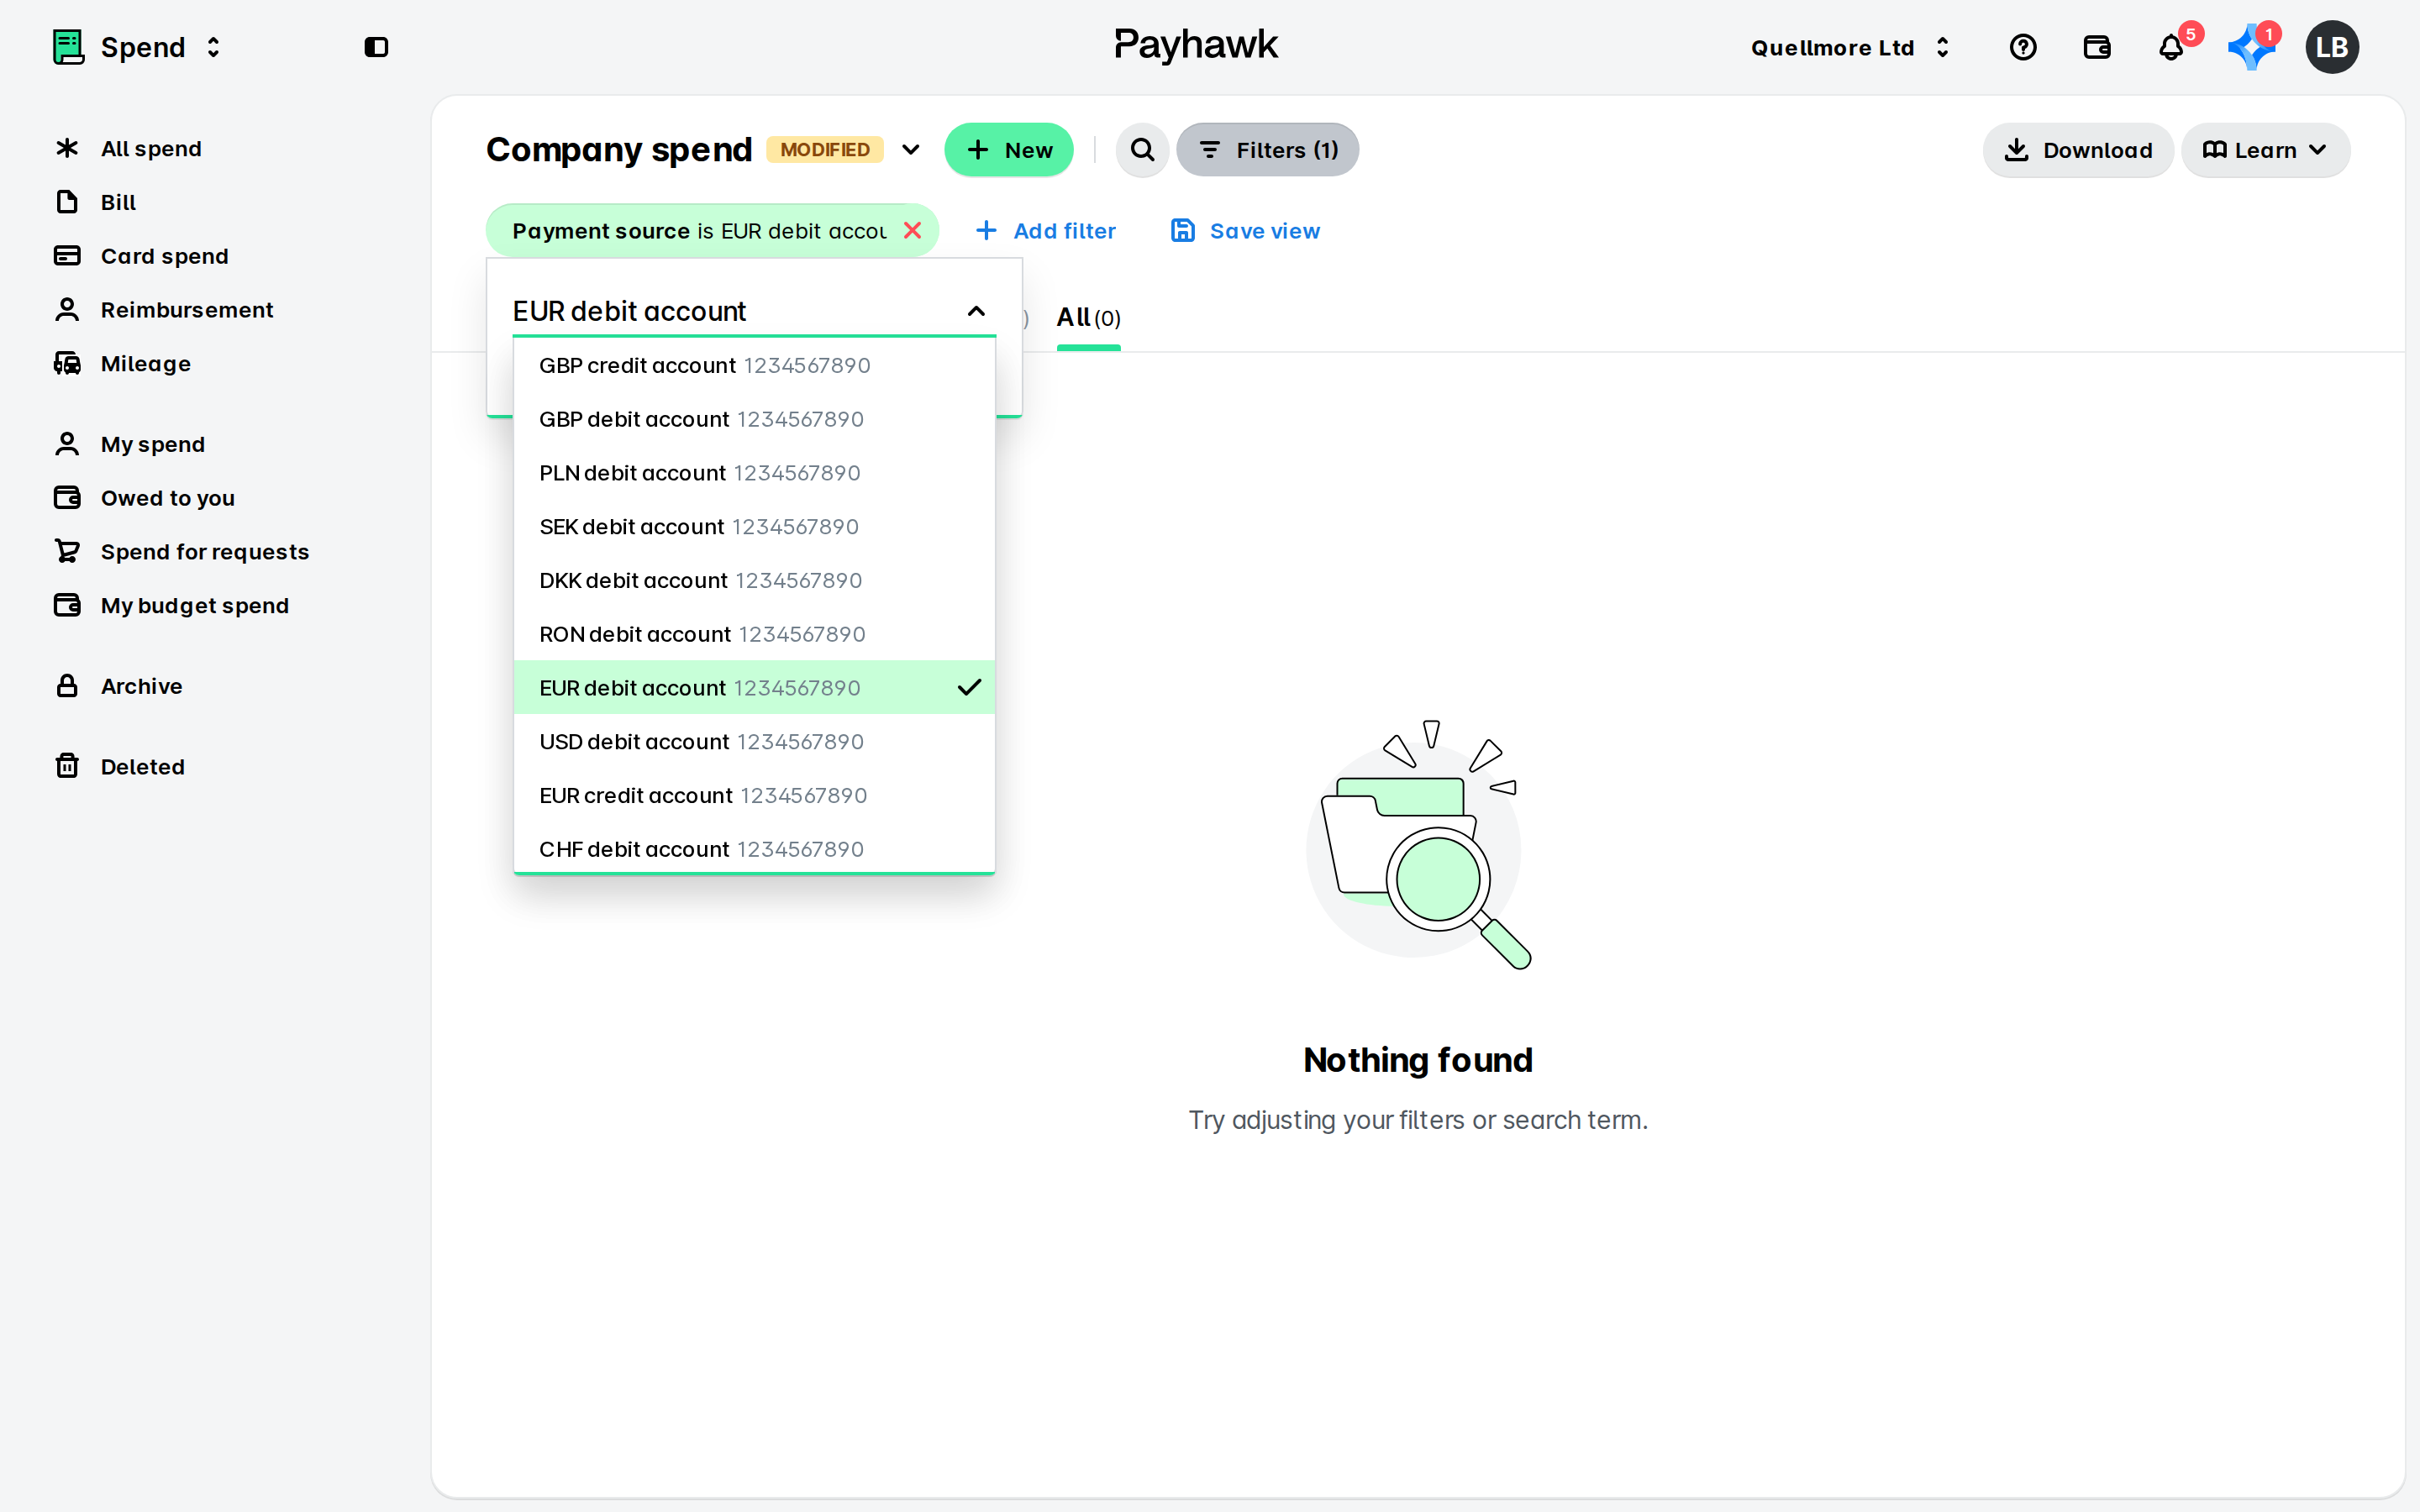
Marking single expenses as paid
To mark an expense as paid:
In the Payhawk Web Portal, go to Spend and navigate to Pay > Confirm details or Pay > Authorize.
Hover over the desired expense and select its checkbox.
In the dialog that opens to the right:
Select the Mark as paid option.
Fill in any required details.
Click on Mark as paid.
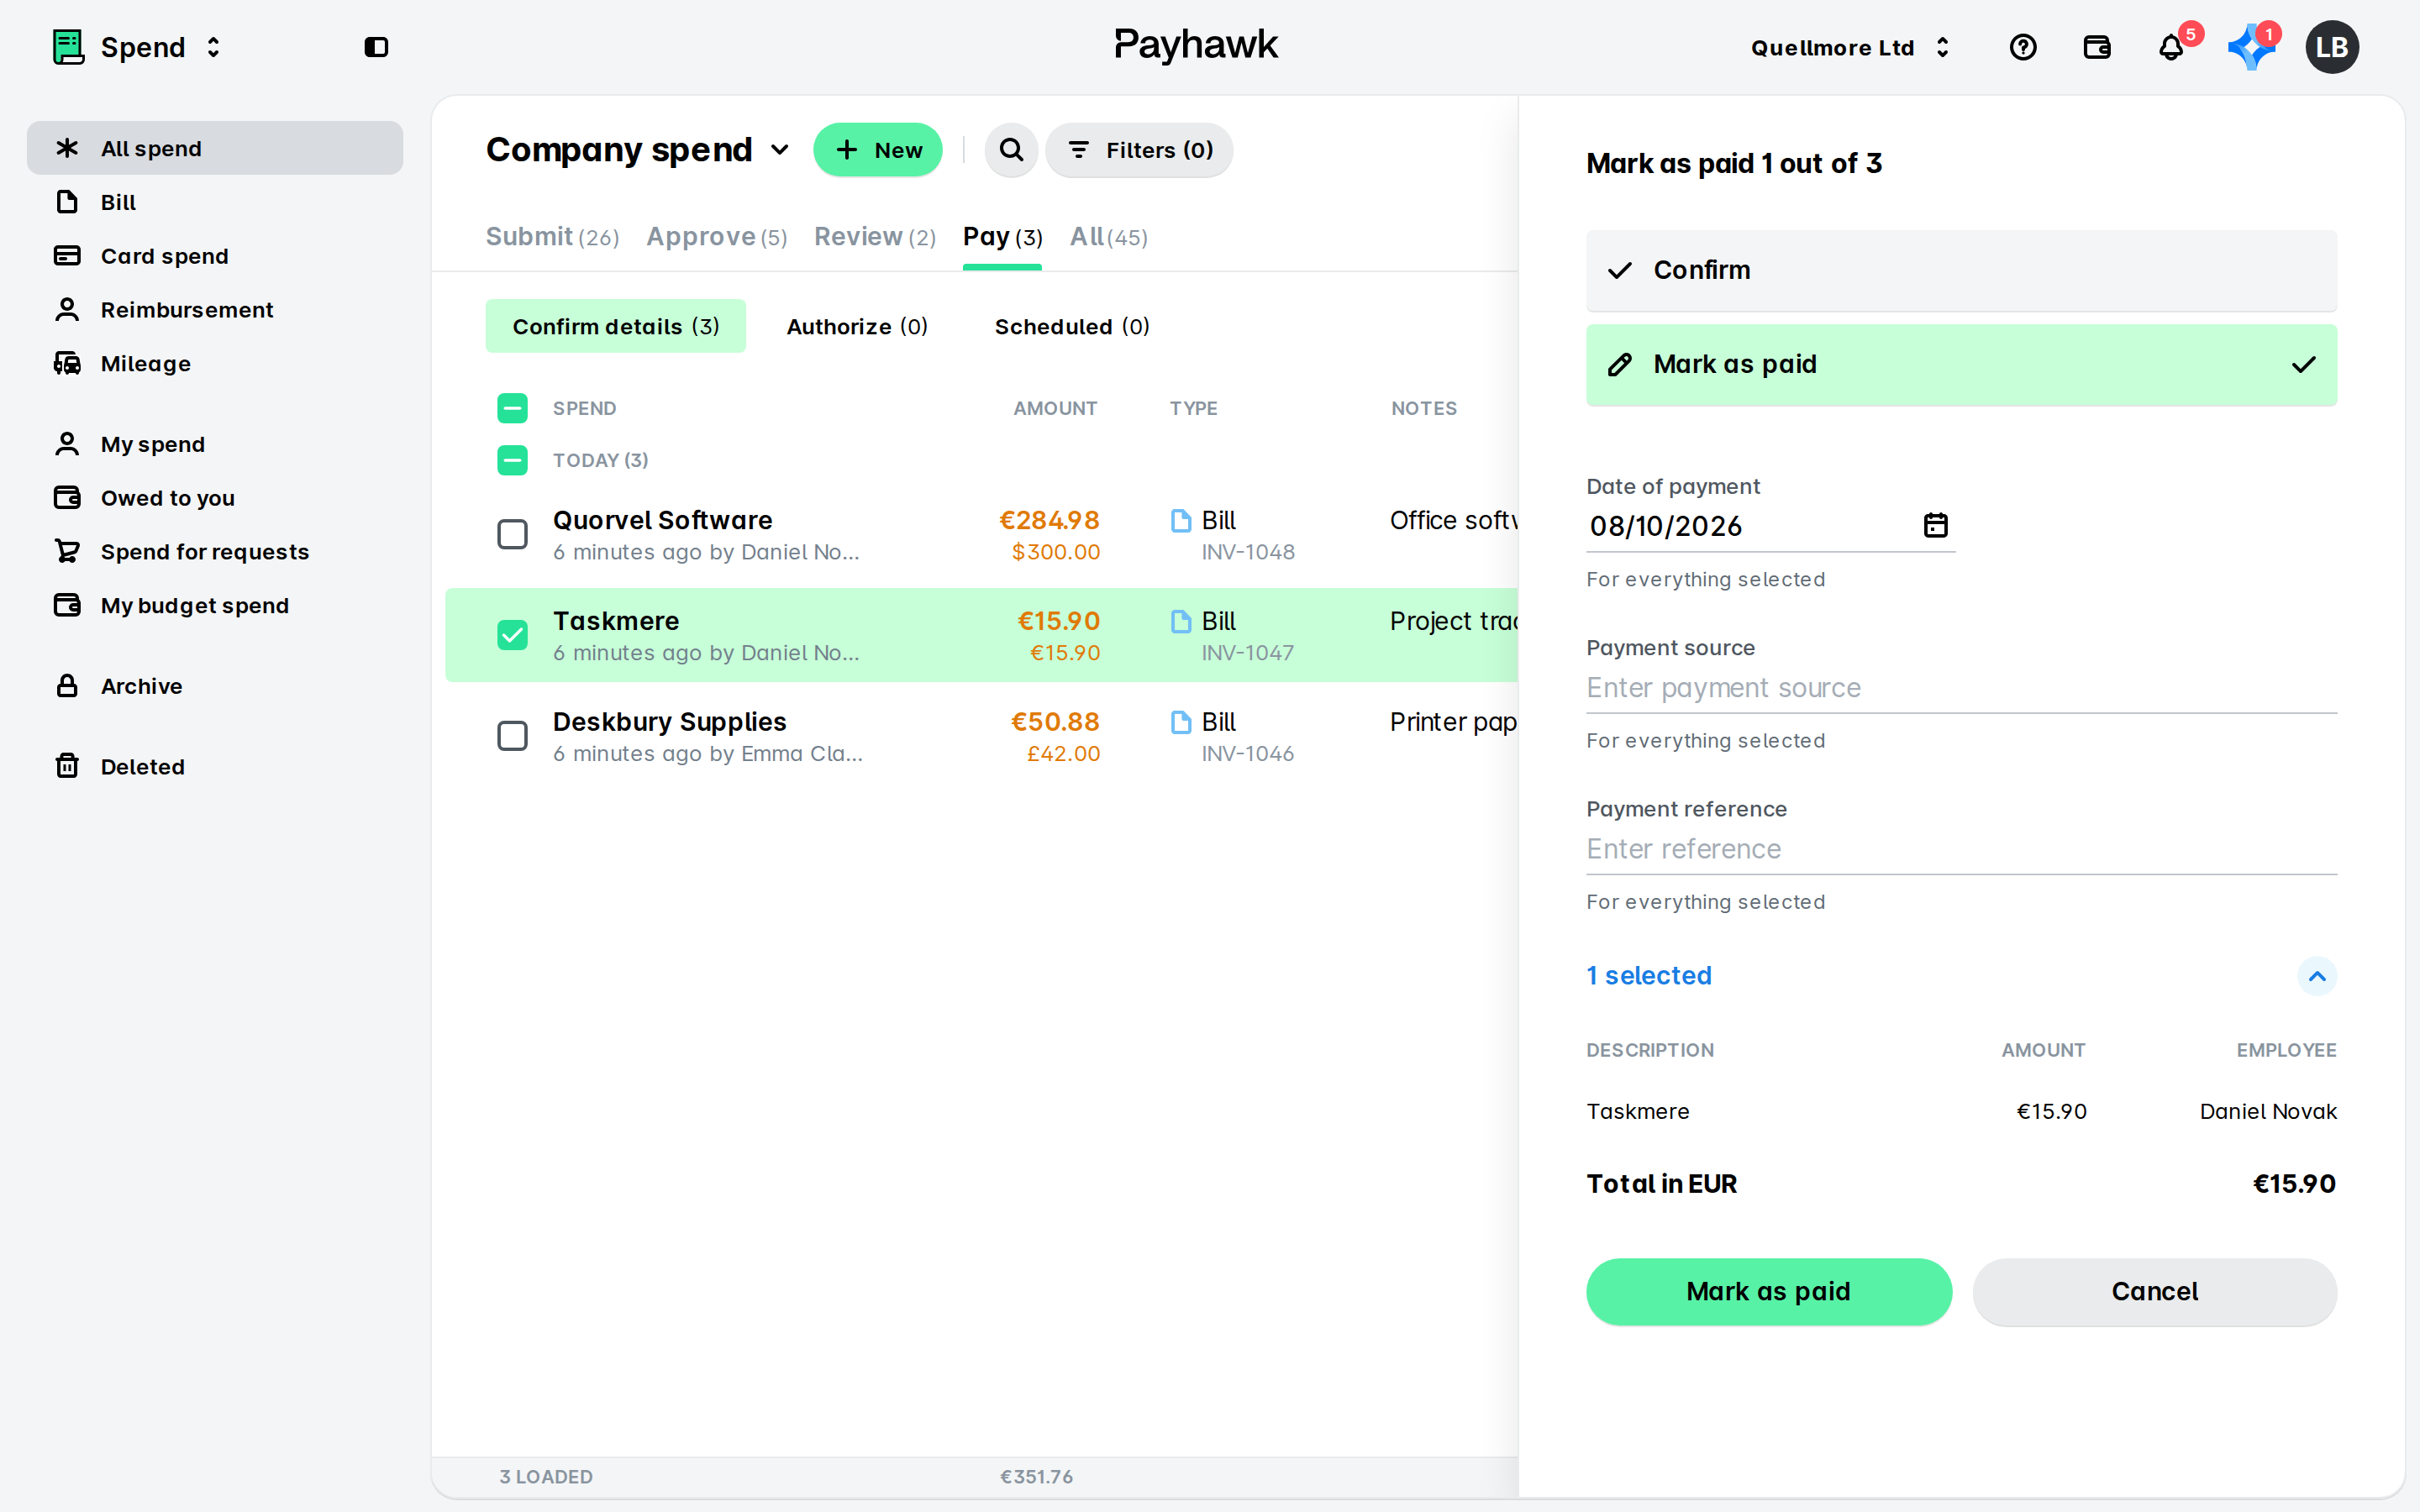
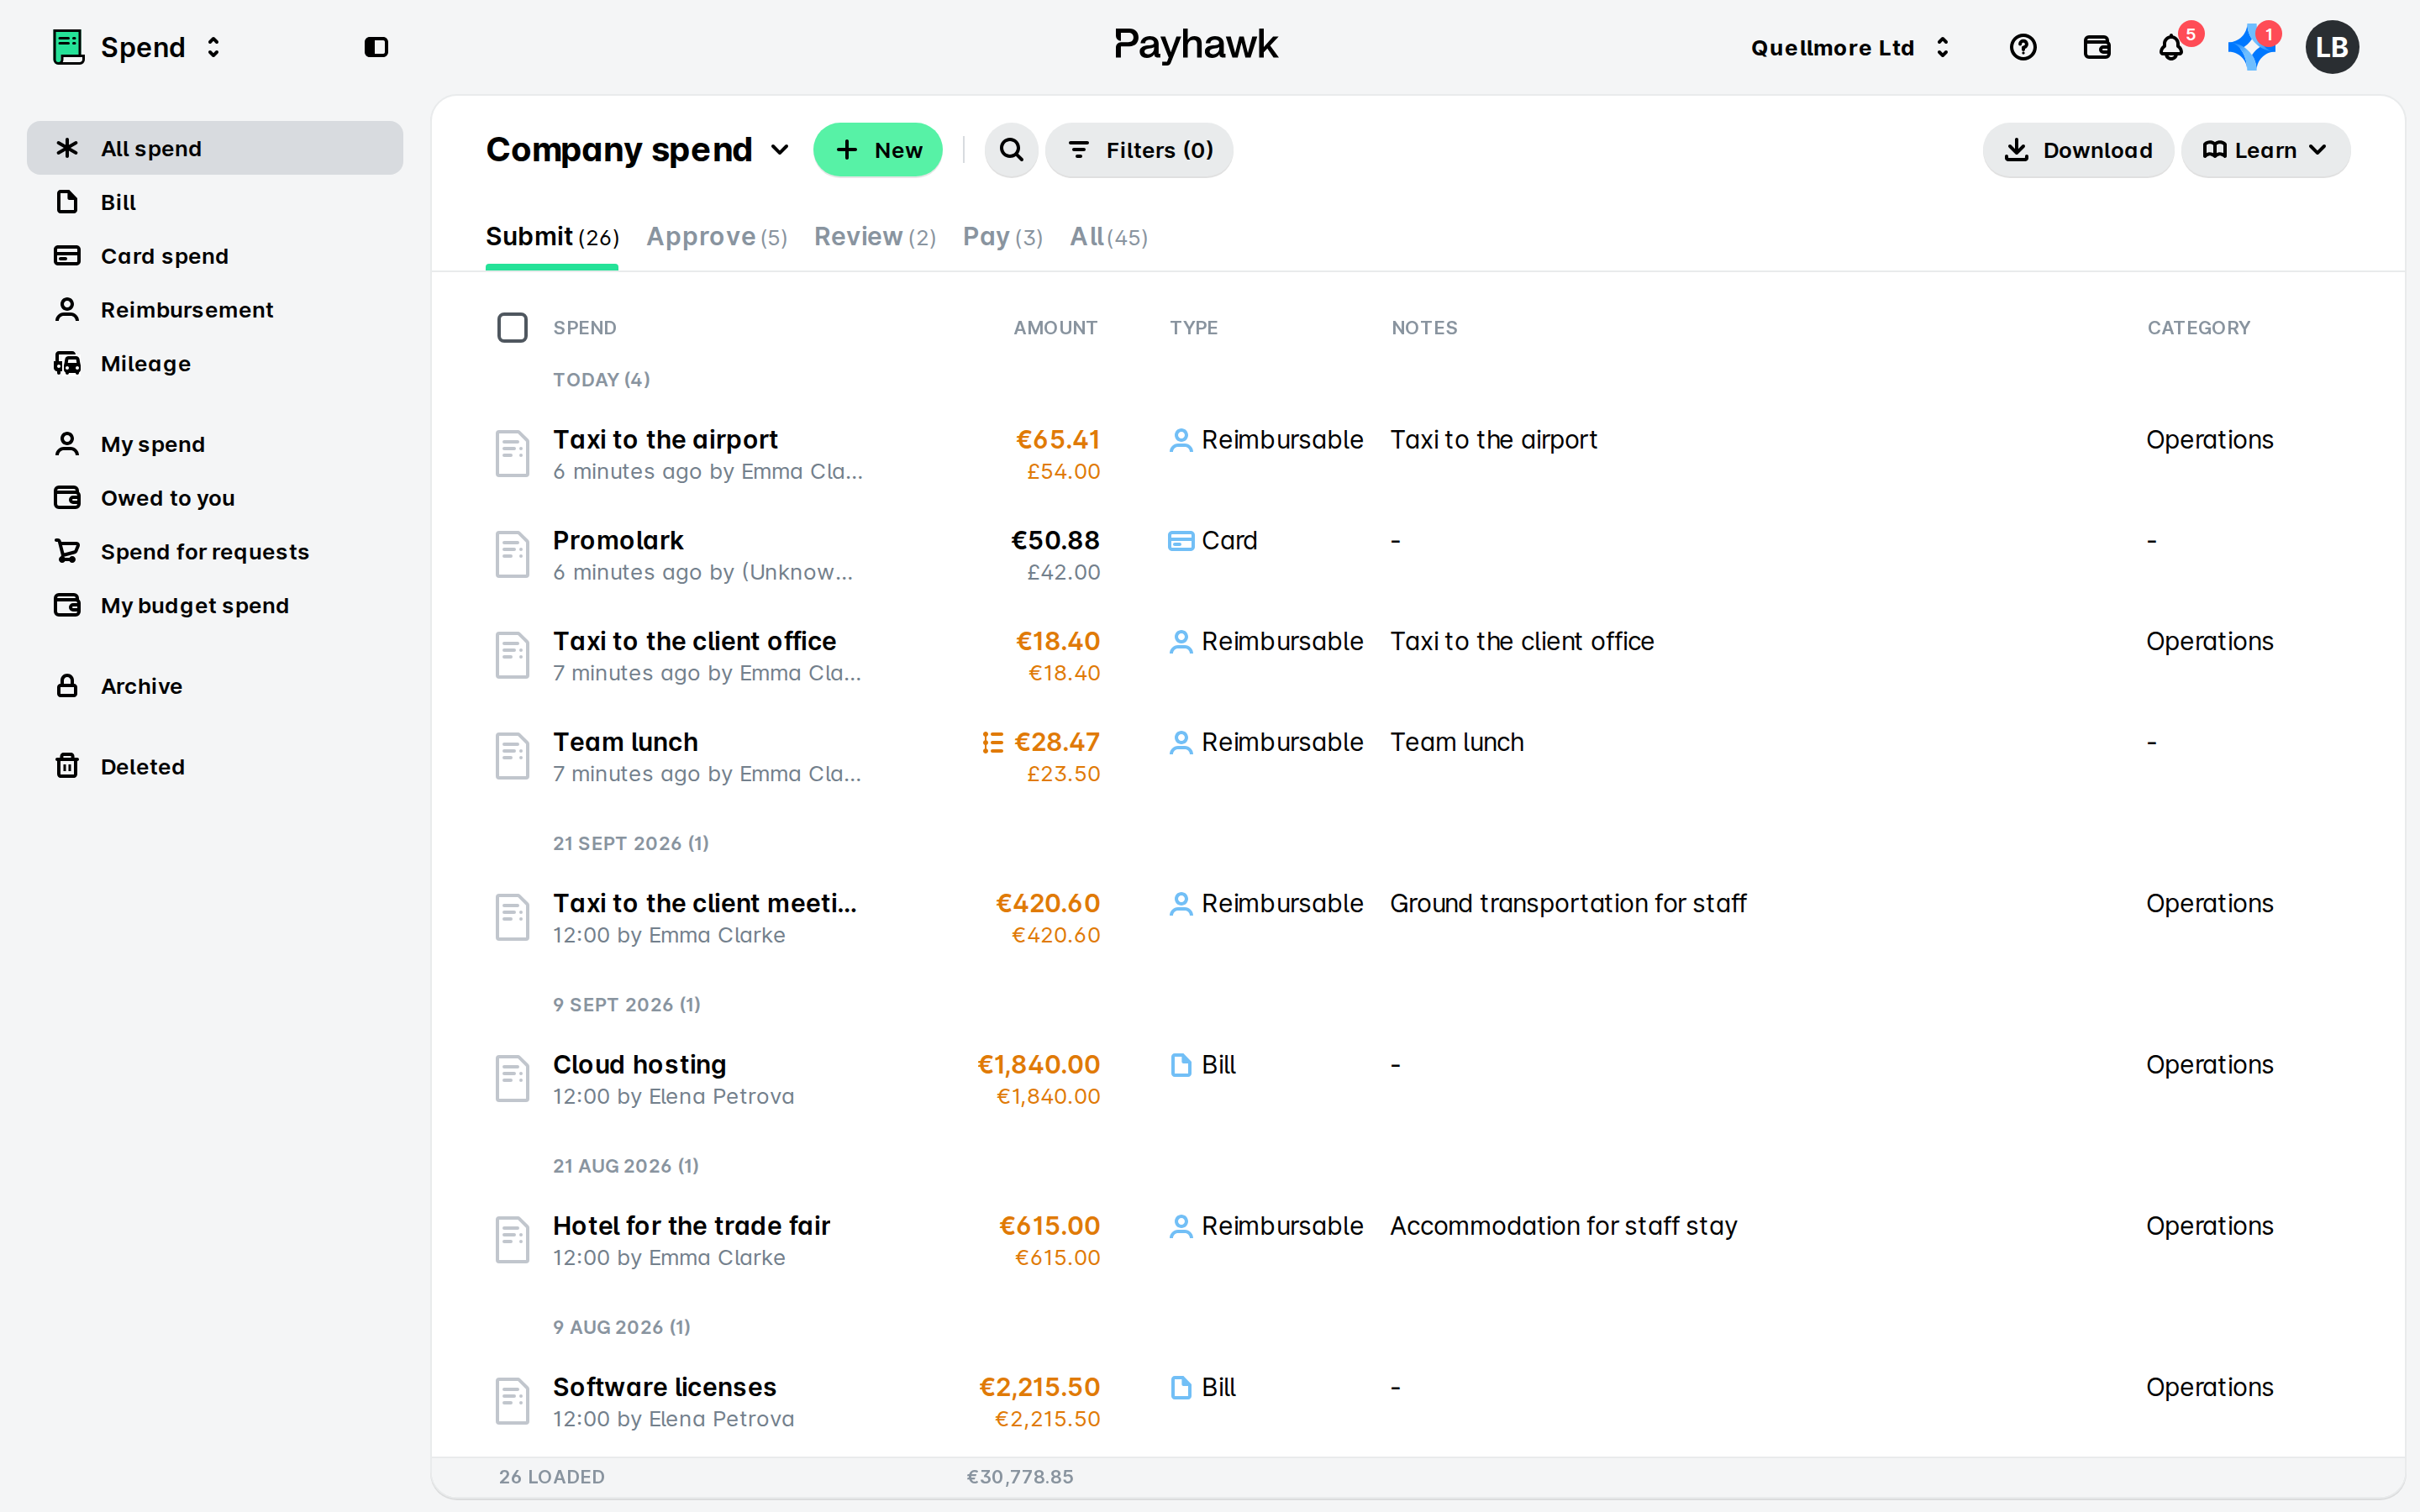
Once marked as paid, the expense will move under the All tab.
Marking expenses as paid in bulk
To mark multiple expenses as paid:
In the Payhawk Web Portal, go to Spend and navigate to Pay > Confirm details or Pay > Authorize.
Hover over the desired expenses and select their checkboxes.
In the dialog that opens to the right:
Select the Mark as paid option.
Fill in any required details.
Click on Mark as paid.
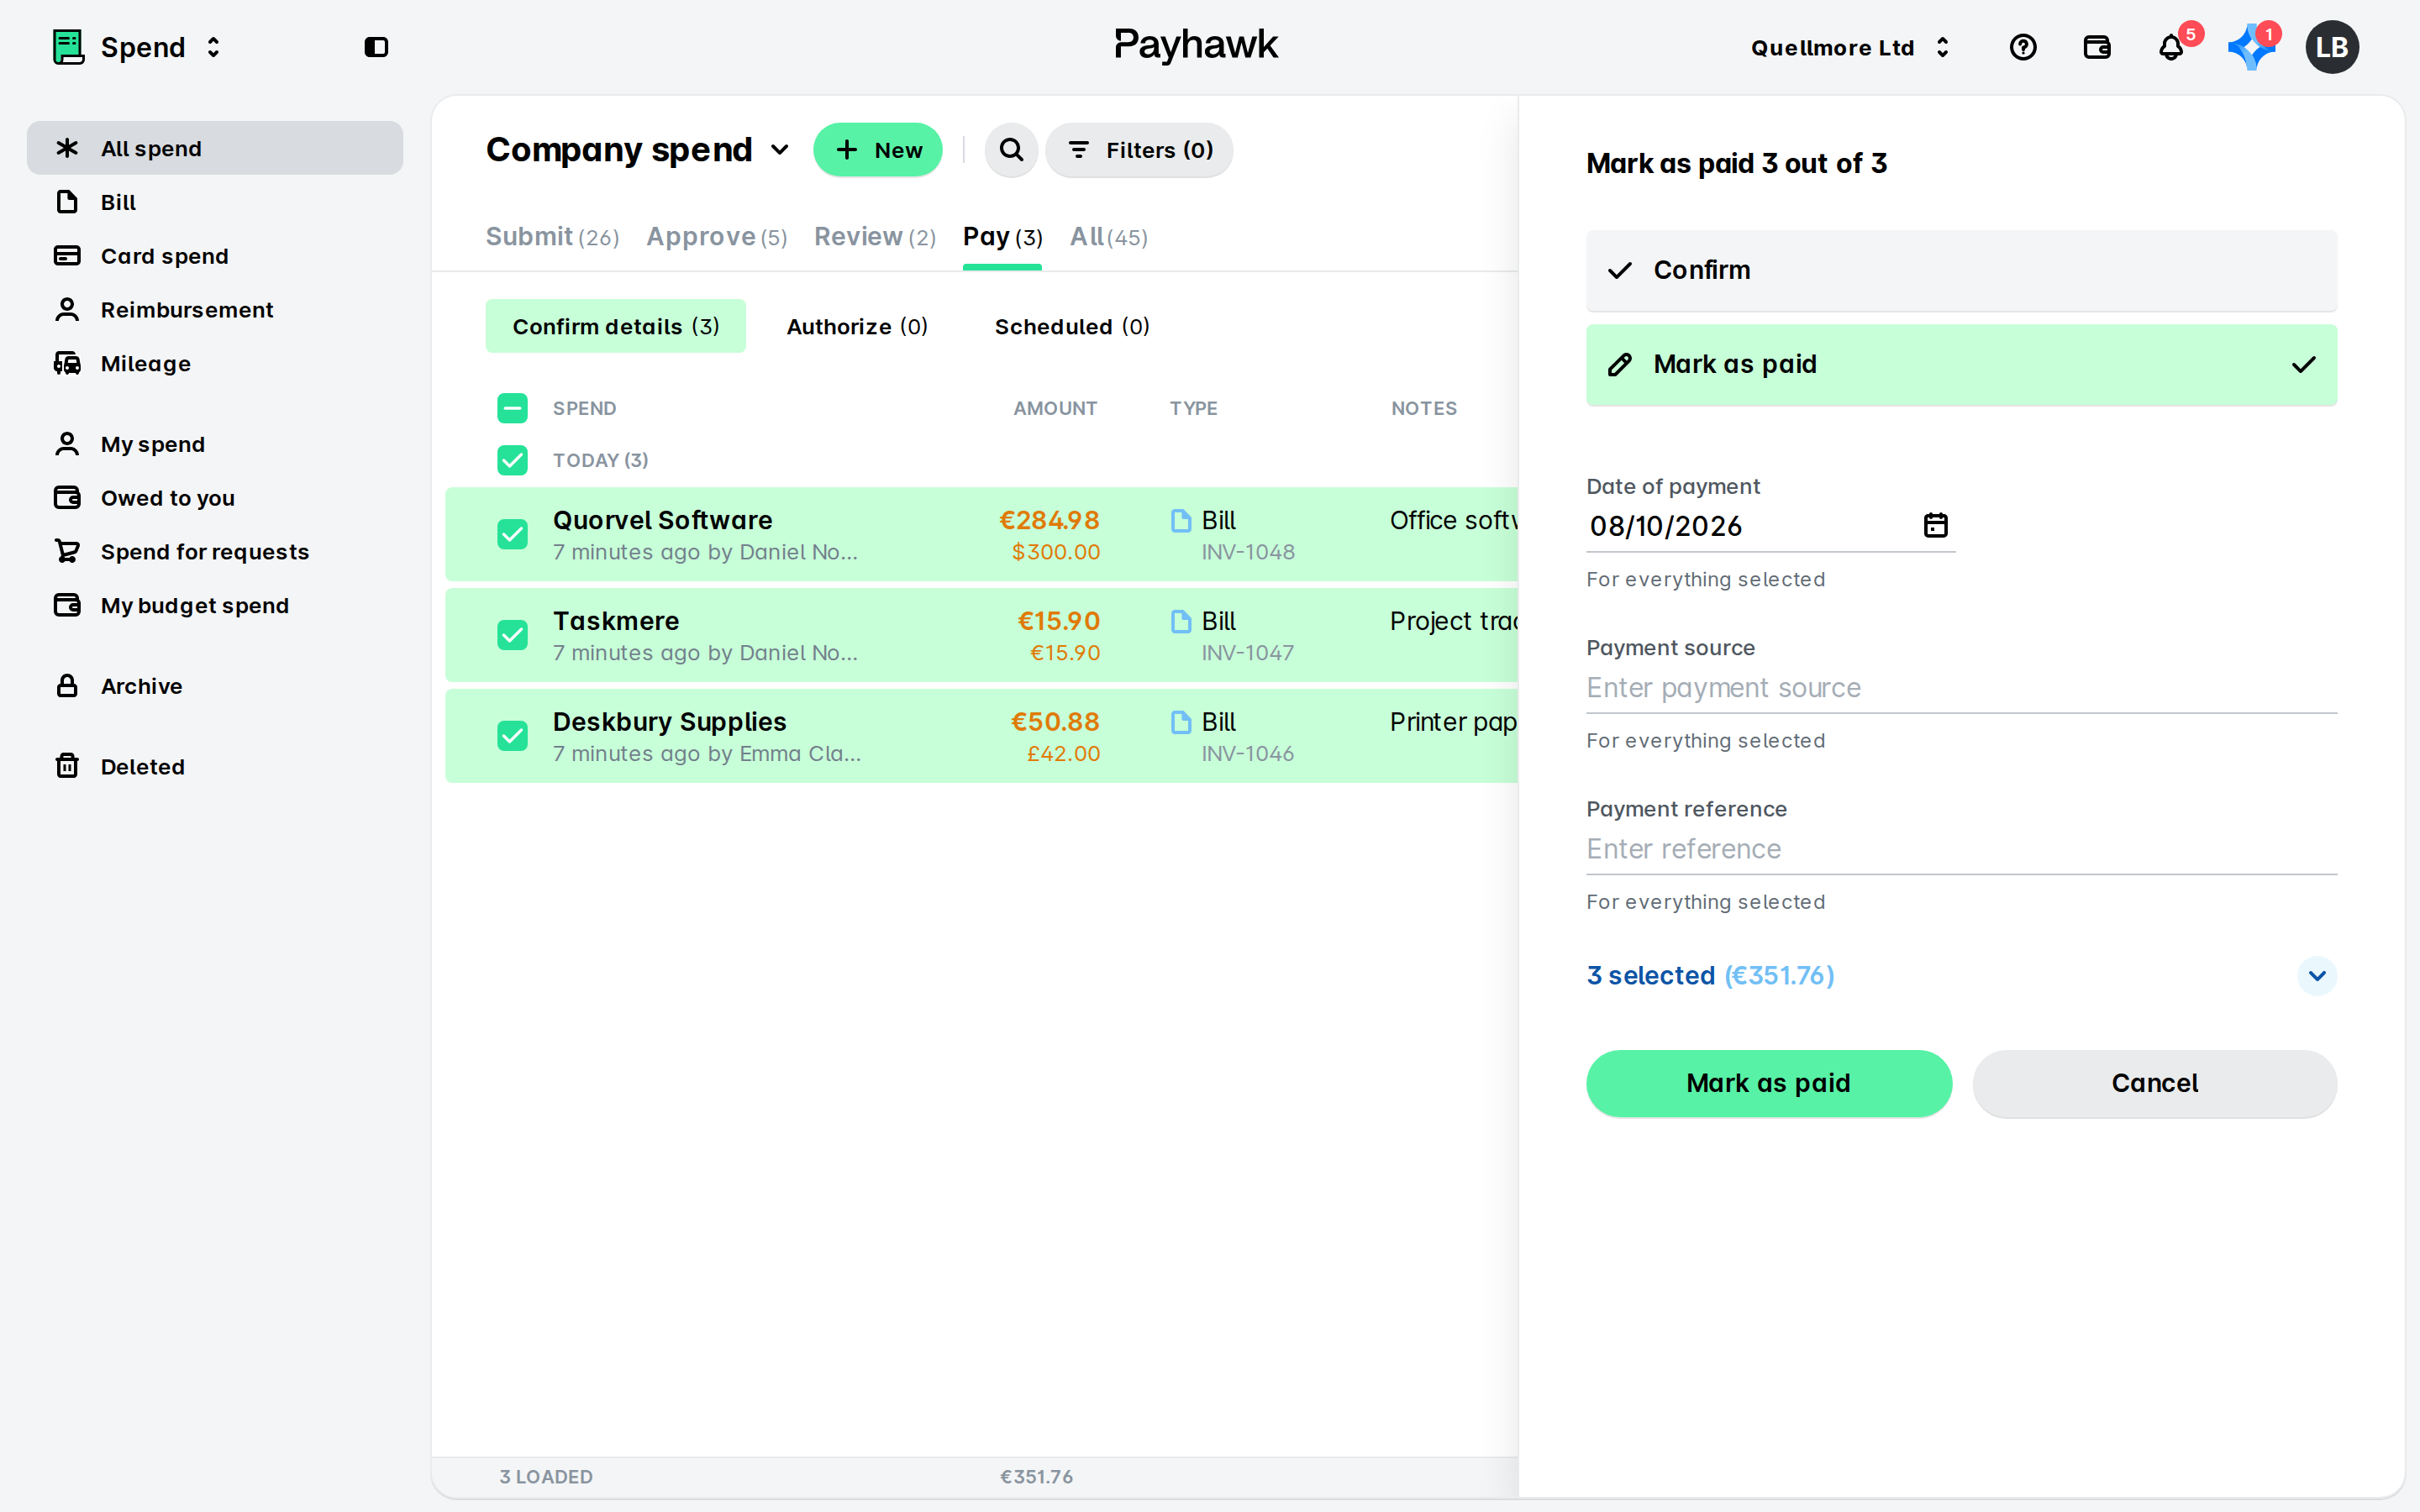
If you have no external accounts added, make sure the selected expenses are in the same currency, and click on Mark as paid.
If you have no Payhawk accounts but have added external bank accounts, whether linked or not, select the payment source from the drop-down menu and click on Mark as paid.
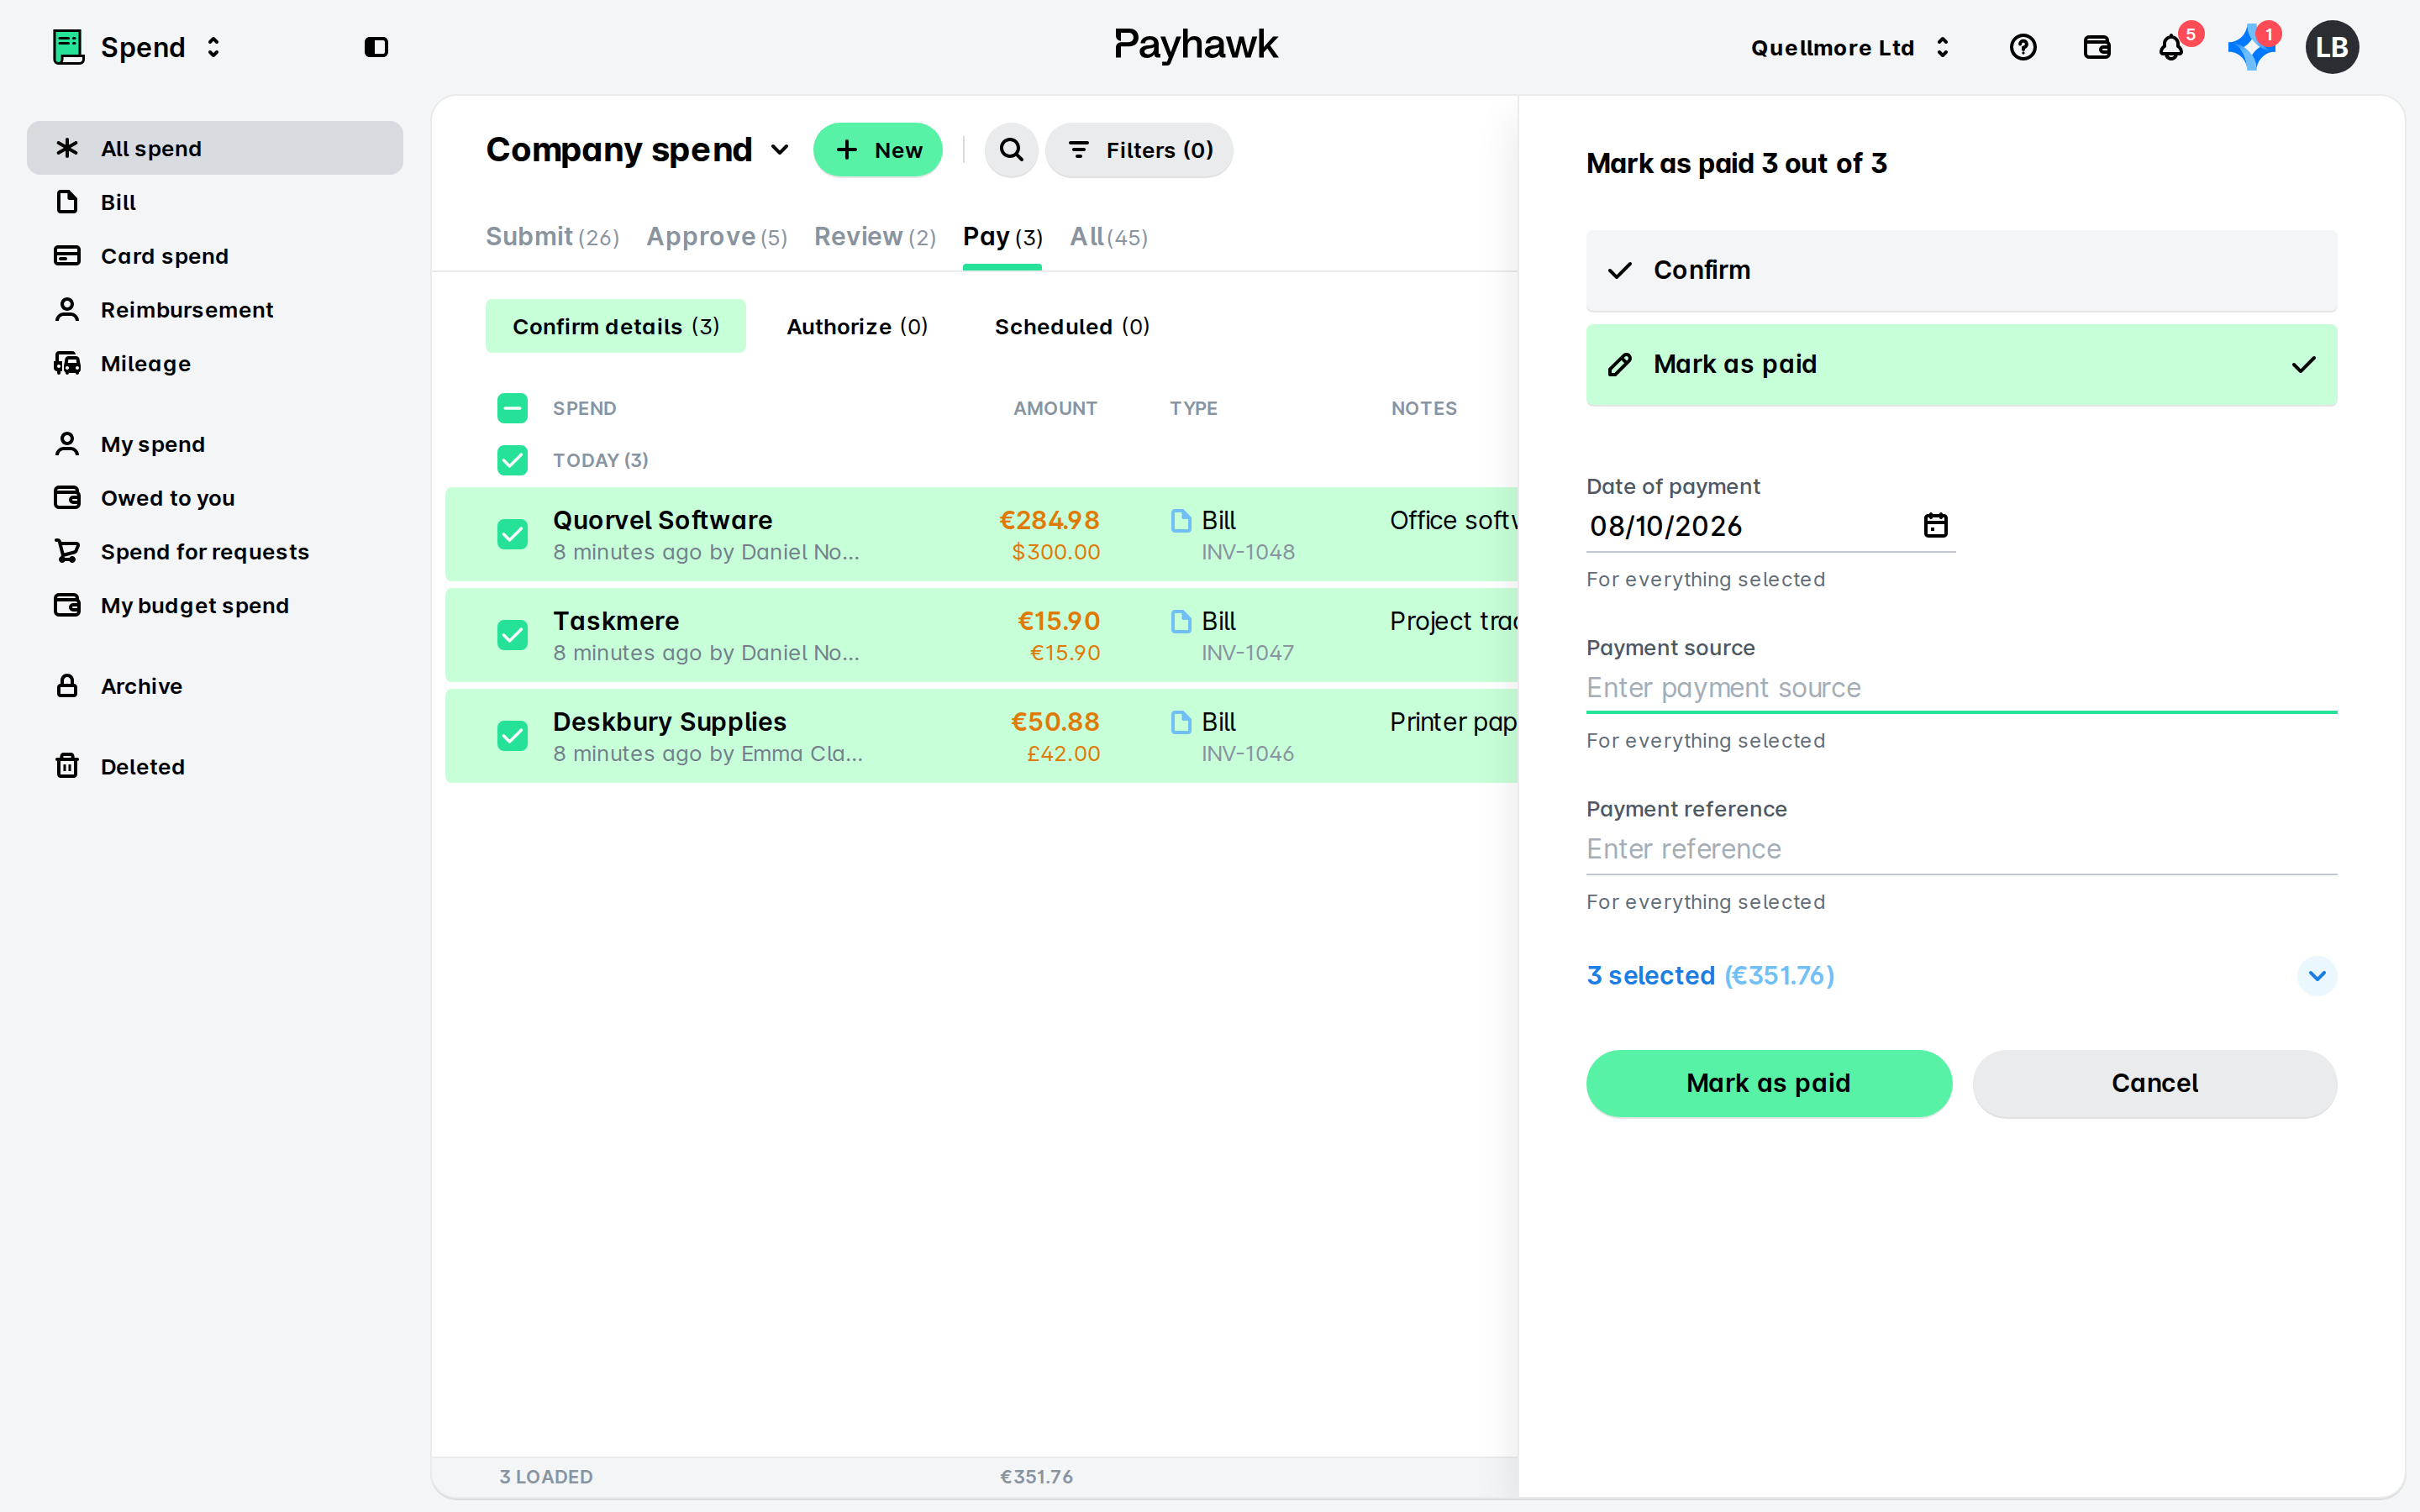
If you have a balance in Payhawk and have added external accounts, click on the three-dot menu and select the Mark as paid option and, then, Confirm.
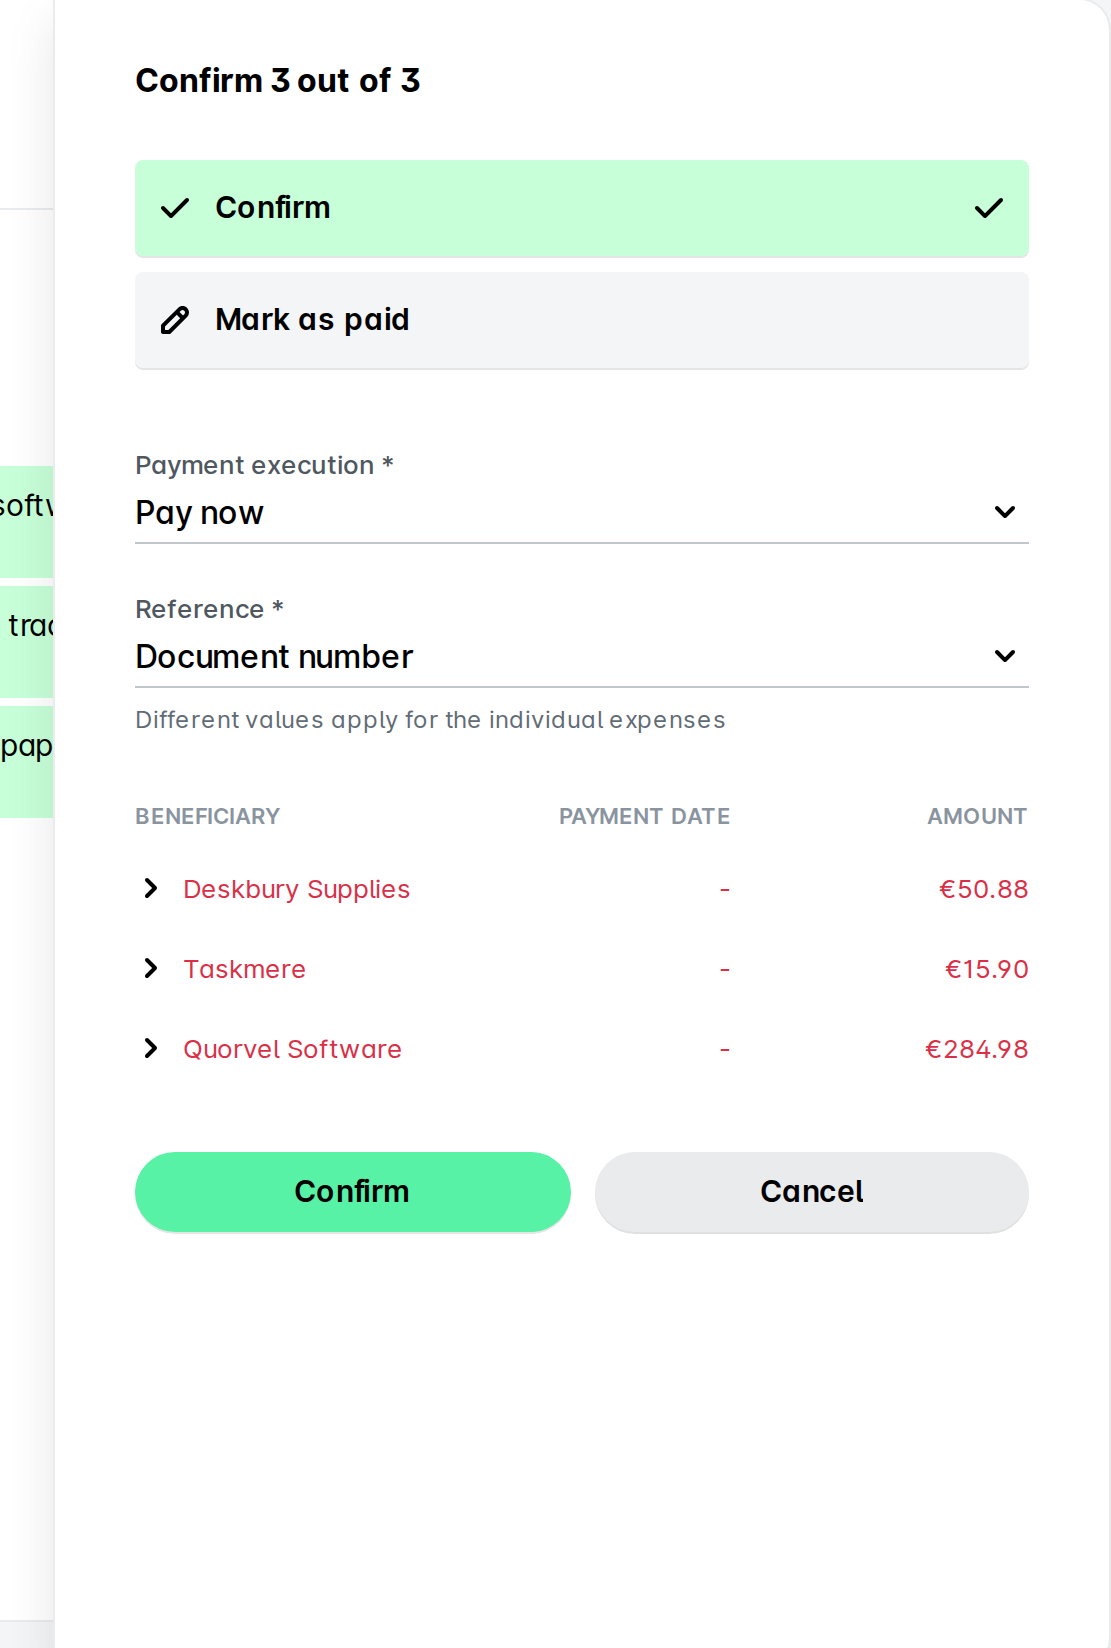
Once marked as paid, the expenses will move under the All tab.
Marking expenses as unpaid
If an expense was marked as paid by mistake, open it and mark it as unpaid. You can then edit it, review it, and pay it as usual.
Marking as unpaid is available for expenses that were marked as paid without confirmed payment details and for reimbursements paid by bank transfer. To mark as unpaid expenses that were paid in another way, for example, through an external payment, contact Payhawk Support.
Refunds for card payments
You don't need to mark a card payment as paid or unpaid when the merchant refunds it. The refund appears in Payhawk as a new transaction with a negative amount. For more information, see the article about viewing your refund in Payhawk.
Useful resources